Do you feel some affection and attraction to specific brands? If you do, don’t worry, that is perfectly normal. Even though it may seem as weird, psychology has an answer to why we feel that way. In a Strategy Study by Accenture, they found that as much as 83% of customers demand more human interaction. But how is that related to brands? The answer lies in the brand personality. If you are curious about the types of personalities most famous worldwide brands display and why they became so successful, keep on reading. It’s all science and marketing, you’ll see.
What is Brand Personality
Brand personality refers to a set of human characteristics that are attributed to a brand name. An effective brand increases its brand equity by having a consistent set of traits that a specific consumer segment enjoys. But before we start with analyzing why brand personality is important, let’s reflect on ourselves and human psychology first.
Personality understands the combination of characteristics or qualities that form an individual’s distinctive character. Have you ever met someone you instantly “clicked with”? Chances are, you had some characteristics they were attracted to and vice versa. That is how we connect to people but also with brands.
In the past, face-to-face interactions between business owners and customers were the only way to present your brand. Most likable owners that had “the biggest personality” were most successful. The game changed forever once the internet came along. The market became so big that having a great personality was not enough. Due to that, the business owners started translating their personalities into their brands that started speaking for themselves. In other words, brands became humanized.
According to Investopedia, brand personality is a set of human characteristics that are attributed to a brand name they can relate to.
Personality psychology is the study of how our personalities develop and how they influence the way we think and behave. You know that feeling you just can’t stand some people. They might never speak to you but as soon as you see them, something snaps inside you and you get agitated… We will not go too deep into psychology but we’d just like to point out it is our unconscious mind that tells us there is something about them that does not match with our personality. The same can happen with brands, but let’s see how that is connected.
How does Psychology influence the relationship between customers and brands
Ask yourself a simple question: How would I describe my favorite brand? We assume you would start listing characteristics you can relate to any person around you. As we mentioned, brands became humanized over time. What that means is that they have embodied human characteristics to present themselves to customers.
By displaying attractive or familiar characteristics, brands create bonds with customers. First, you need to understand your audience’s personality traits and how they behave. All that is related to brand strategy experts who have a deep understanding of brand psychology. It helps them shape desirable perceptions so the customers see the brand in a certain way. Knowing what your customers are attracted to will help you create your brand personality. We are born with an innate understanding of certain psychological and behavioral patterns, so use that to your advantage.
The most loved brands separate the transaction and the relationship with customers. It allows the feeling of affection to grow. A successful brand doesn’t look for transactions. Its focus is building brand loyalty and relationships using its personality that ultimately results in transactions.
Immerse specific traits into your brand storytelling
One thing you should not forget is your brand story. All people have underlying beliefs, values, core principles that guide them. It is important to have answers to these questions:
- What do you stand for?
- What are your contributions to customers and the market?
- How does your brand differentiate from others?
Thinking about those is essential but it is also important to define your brand character first. Next, we’re going to present you with two main approaches to defining your brand personality.
Building your Brand: Aaker’s Brand Personality Framework
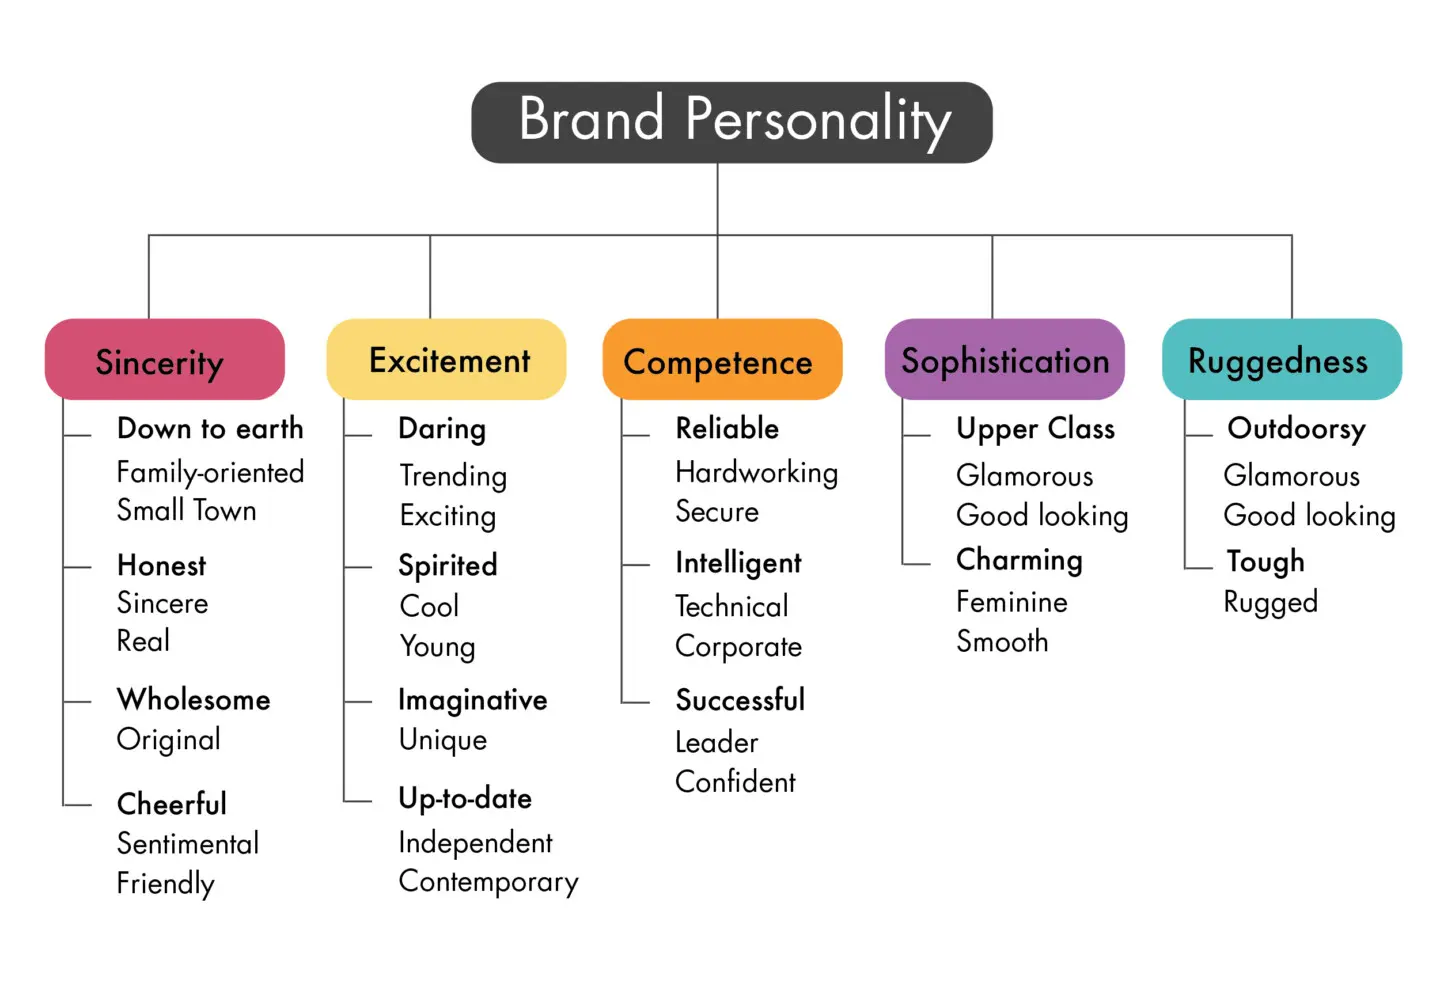
A Standford researcher Jennifer Aaker presented a brand personality framework that includes five categories. Each category encompasses smaller personal traits. You want to choose several sub-traits that resonate with your:
- Your brand mission
- Your audience personality
Once you chose the characteristics of your brand, it is important to instill those values in all your work:
- What you write – blog posts, newsletters, social media posts
- What you say – press conferences, advertisements, communication with customers
- How you present it – in your customer loyatly program, brand design, visuals, logo, typography, and products
Let’s dissect the classification and give some examples of popular brands for each category.
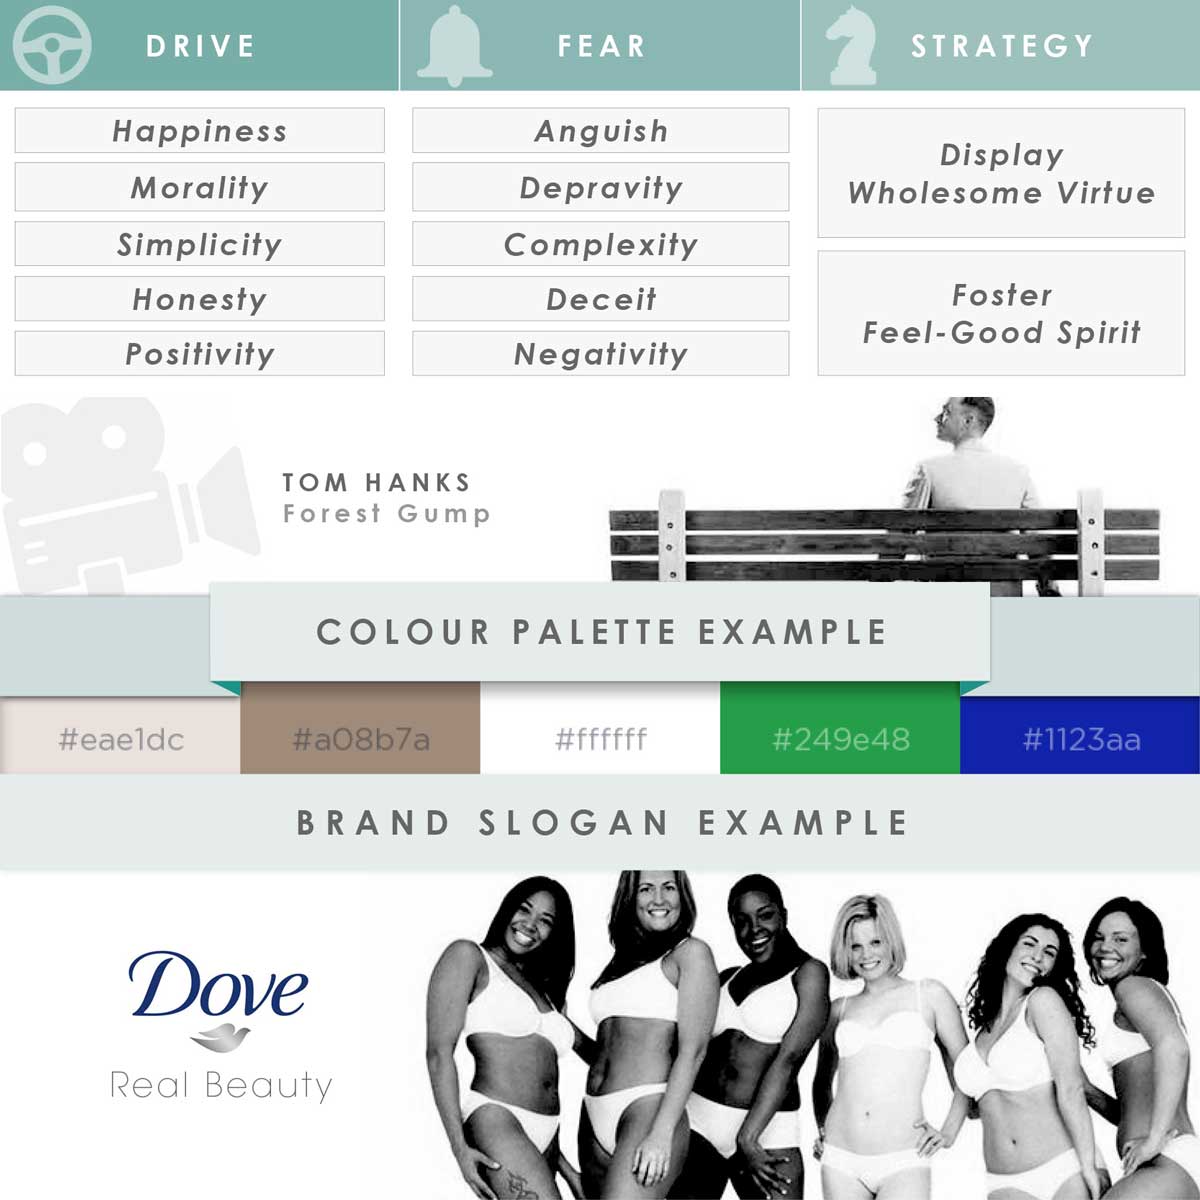
1. Sincerity
Businesses that fall under this category want to be honest, genuine, cheerful, and down-to-earth. It evokes the warm feelings associated with words like family, friends, giving, honor, and generosity.
You may find businesses from the fields of food, hospitality, and safety brands. Some examples that reflect such values are Coca-Cola, Oprah, Pampers, and Hallmark.

2. Excitement
Brands from the Excitement category often appeal to younger demographics with energetic advertising and celebrity endorsements. Such brands are daring, contemporary, imaginative, and unique.
It encompasses many brands, but some of the most prominent ones that fit this description are Monster Energy, Nike, Tik Tok, and Axe.

3. Competence
Key brand personality traits brands falling under this category display include reliability, responsibility, trustworthiness, intelligence, and confidence. Groups of brands that feature competence traits include banks, insurance companies, medical brands.
Perfect examples are Verizon, Raiffeisen, Microsoft, Volvo, and UPS.

4. Sophistication
In this sense, sophistication refers to brands that are glamorous, luxurious, charming, and profound. Some examples are American Express, Apple, Rolex, Nescafe, and Mercedes.
5. Ruggedness
These brands are durable and built to last. They are hard-working, authentic, strong, and high-quality.
You may see a lot of rugged brands in the verticals of construction, hardware, sports, and automotive. LL Bean, Land Rover, Levis, Jack Daniels, and REI are some of the rugged brands.
Building a Brand with an Archetype Framework
The most loved brands connect with their audience on a deeper level. According to Netbase, Lego is the third most loved brand in Europe with 280,314 expressions of love towards it back in 2017. Business Insider’s article dives into the full list of 21.
We all have the same set of basic human desires. They are instinctive and primitive. These 12 human desires reflect the 12 archetypes from ancient Greek mythology. Archetypes are the personification of behaviors that enable you to accurately appeal to a given desire with a specific personality. They are universal patterns of behavior that we all instinctively understand.
Let’s introduce each one of these 12 core archetypes which you can transform into your brand personalities.
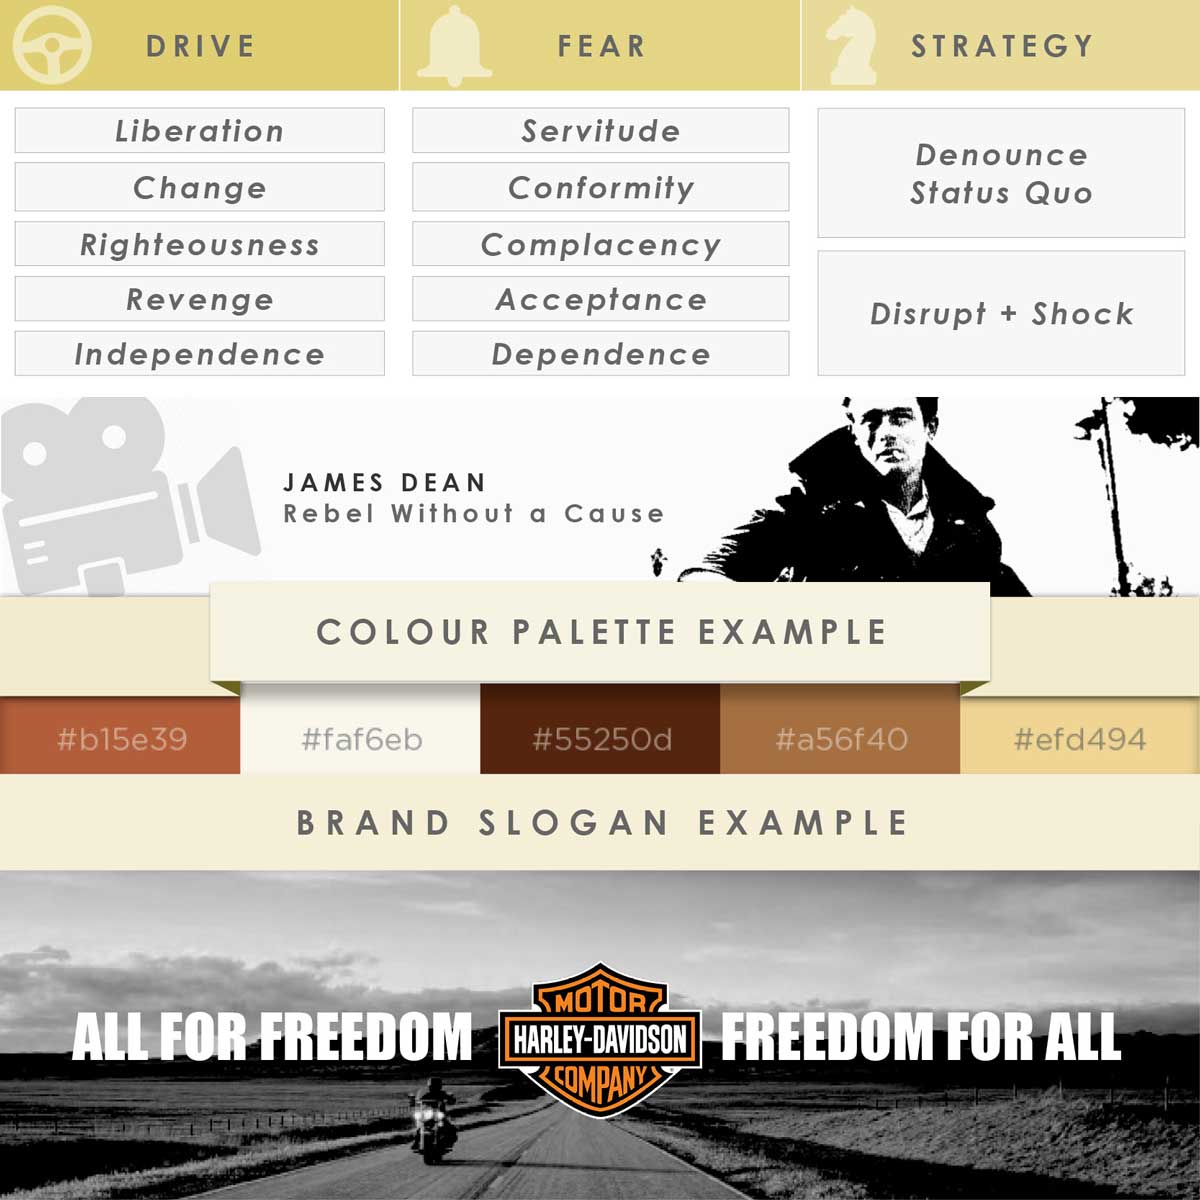
1. The Outlaw Brand Personality (Liberation)
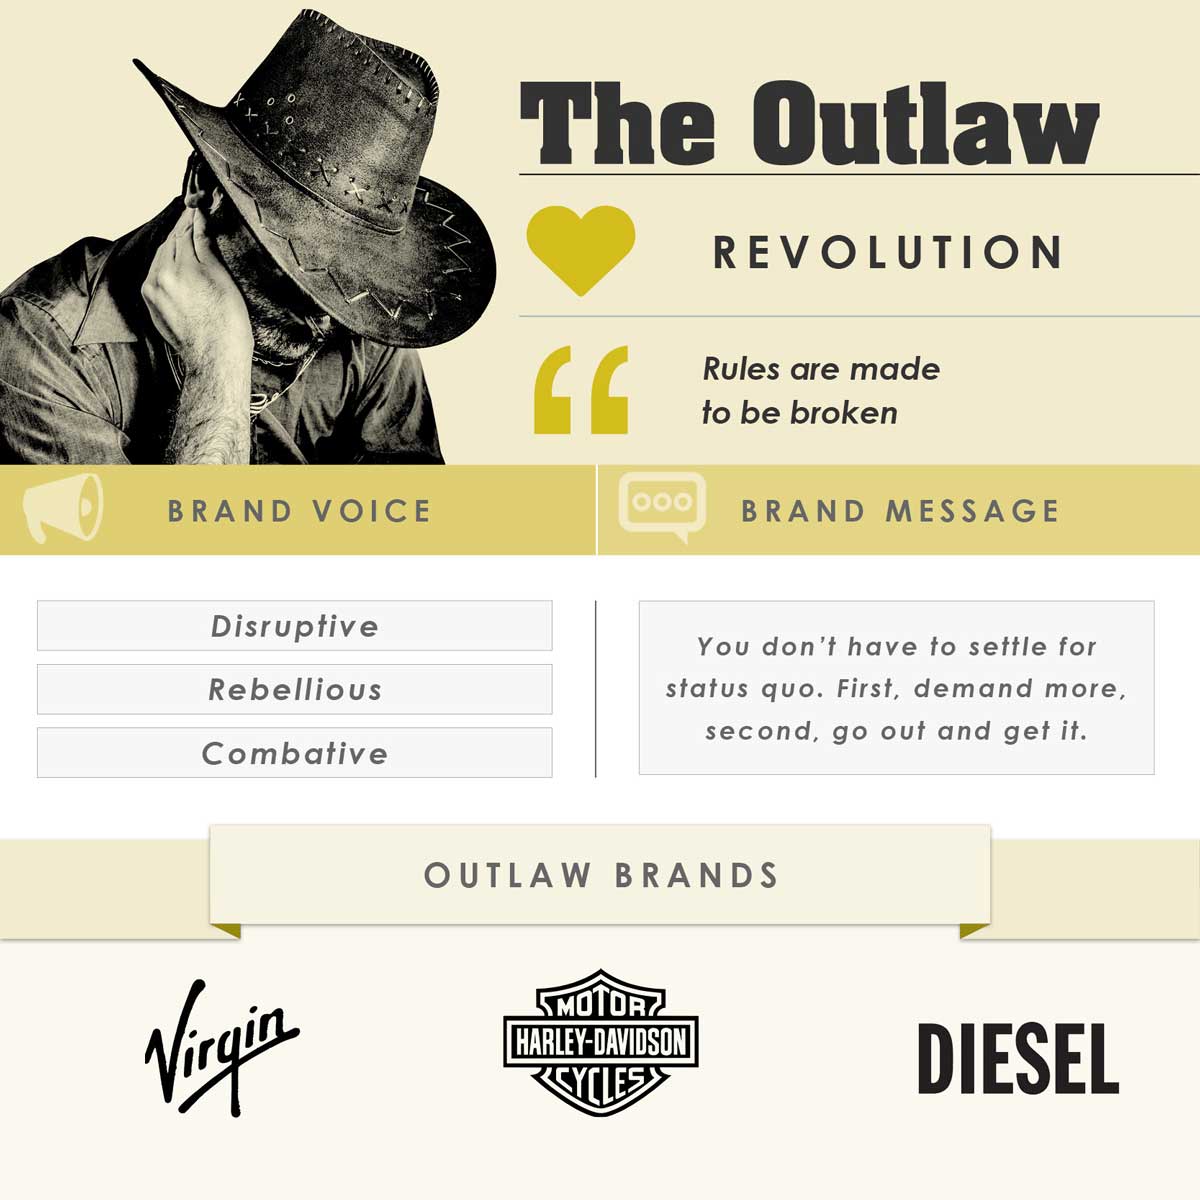
The Outlaw brands are rebellious and against restrictions and rules. They are sort of anarchists but not because they love chaos, but rather because they find freedom extremely valuable. They tend to oppose modern-day regulations and sometimes display aggressive behavior which can lead them into trouble. All in all, they are well-intentioned, but their impulsiveness and lack of patience can turn against them.
the outlaw branding strategy
To prove to the Outlaw customer that you see the world as they do, you will have to fight the conformity and status quo. Encouraging revolution and change are appreciated. When communication is in question, however, stay away from being formal and using scientific or profound vocabulary. Your language and tone should be direct and fierce.
Industries, where you can meet such brand personality, include Automotive, Destruction Tools, Alternative Apparel, and Body Art.
2. The Magician Brand Personality (Power)
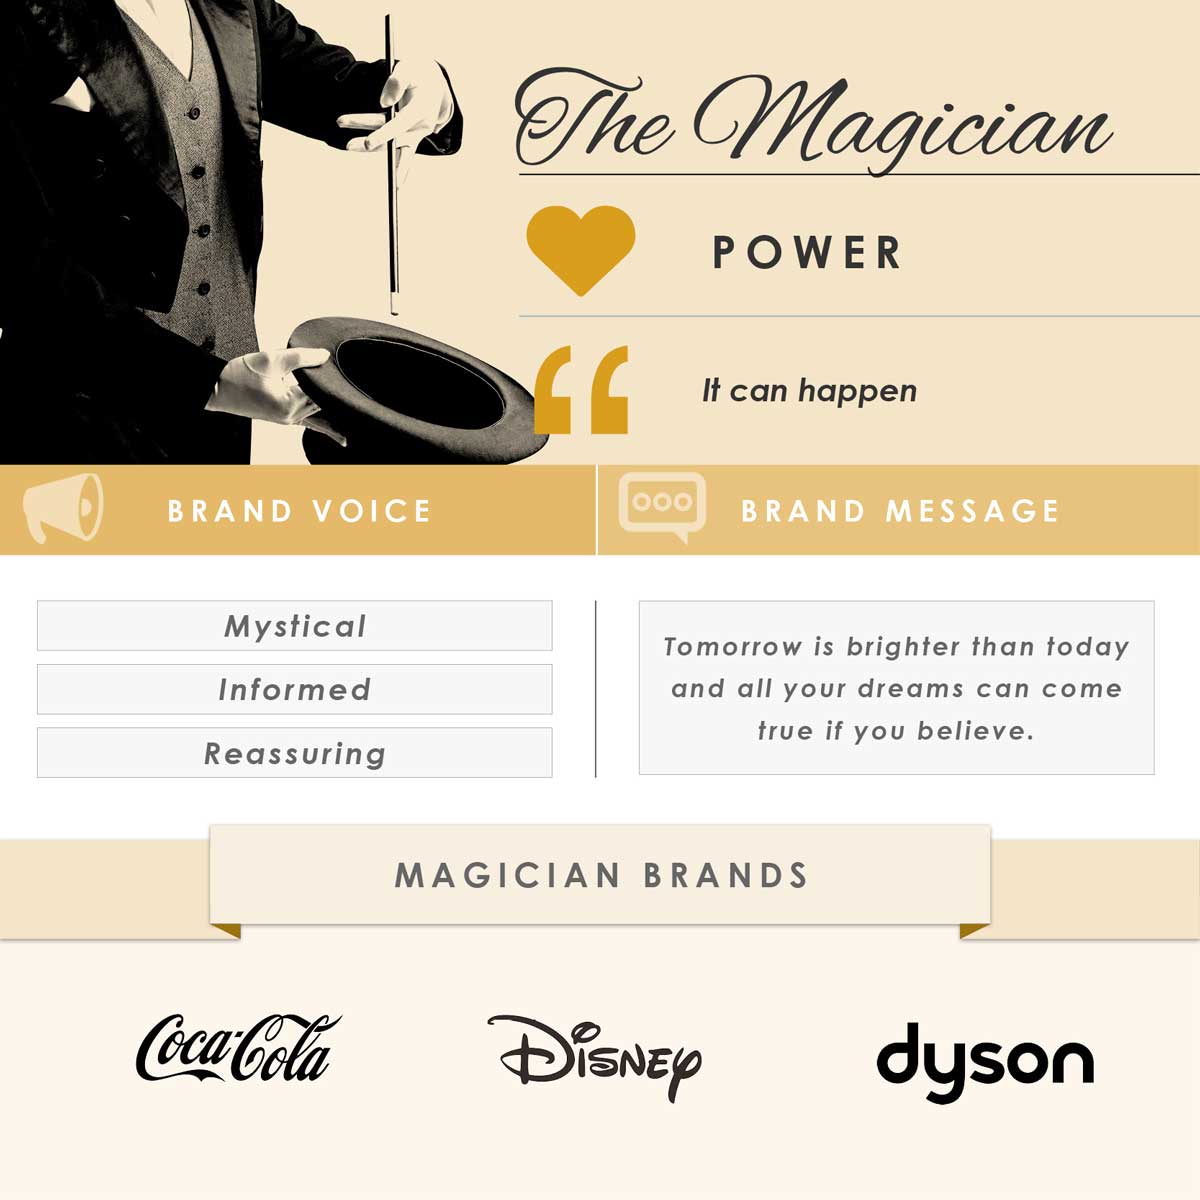
The Magician brands strive to make a significant shift in one’s reality through the journey of transformation. They believe that anything is possible and that people are limited by their lack of faith and imagination. They take pride in their vast knowledge but they are not willing to share it with others. Everyone is responsible for their own success. They are secretive about their processes and how they achieved their goals.
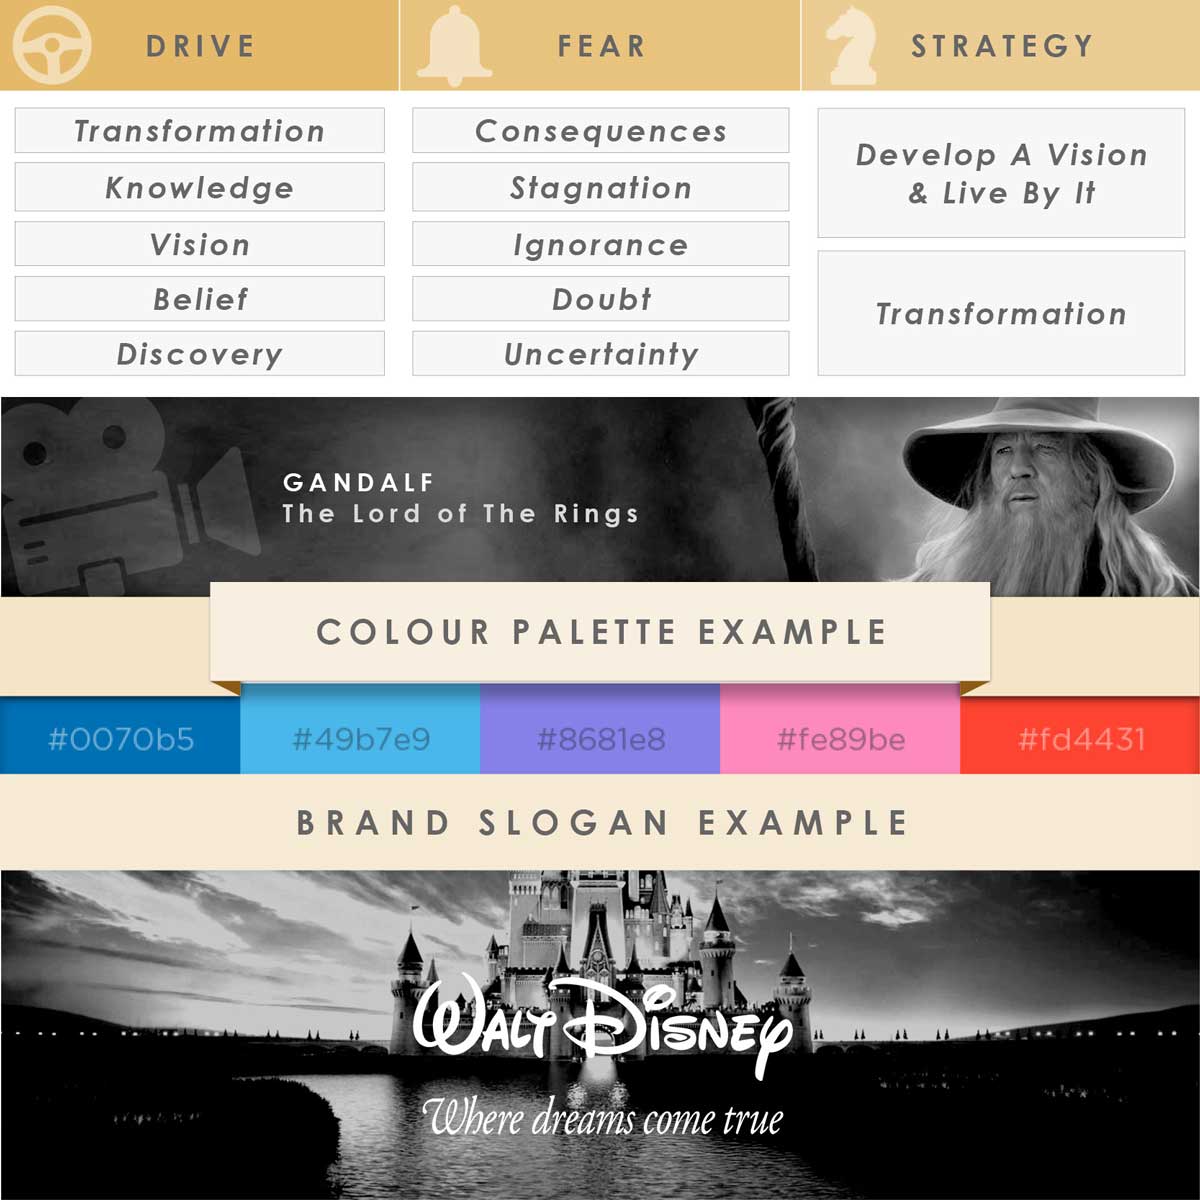
the magician branding strategy
The Magician archetype rarely fits a buyer personality but appeals to the customer psychology of those who are willing and able to transform into their loyal customers. They successfully connect with their audience, as the audience sees them as a helping hand in improving their life.
Typical industries for The Magician archetype are Entertainment, Beauty, Relaxation/Well-being, and Health.
3. The Hero Brand Personality (Mastery)
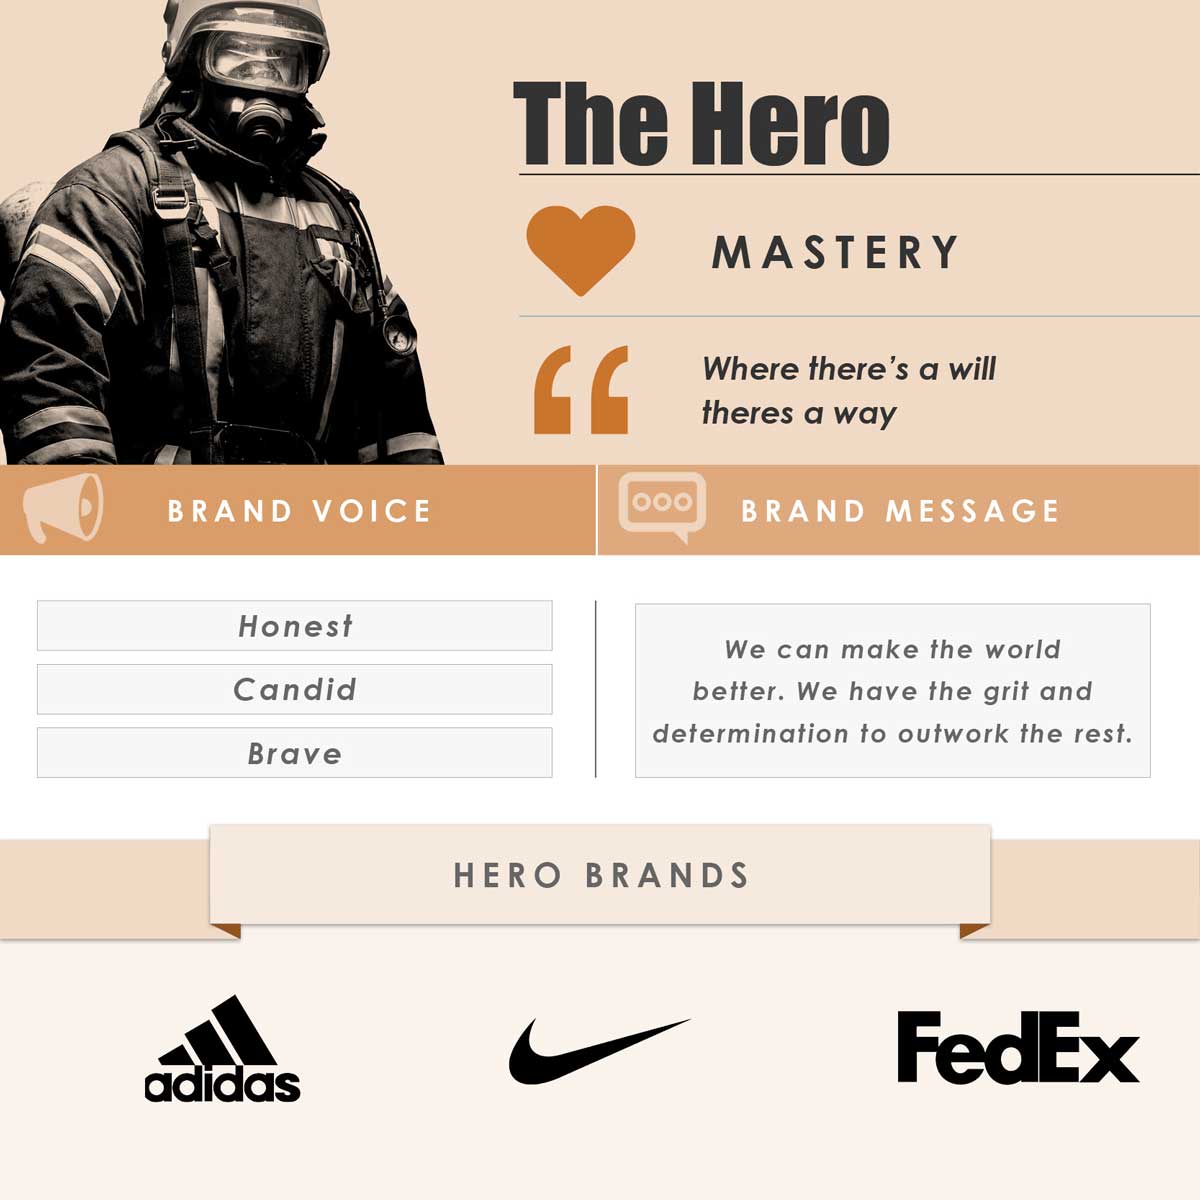
The Hero wants to prove its worth through determination and courage. They want to be perceived as skillful and fearless. They are thriving challenges and don’t accept failure or defeat as the outcome. The Hero wants to show the world that they are skillful and don’t seek achievements but recognition.
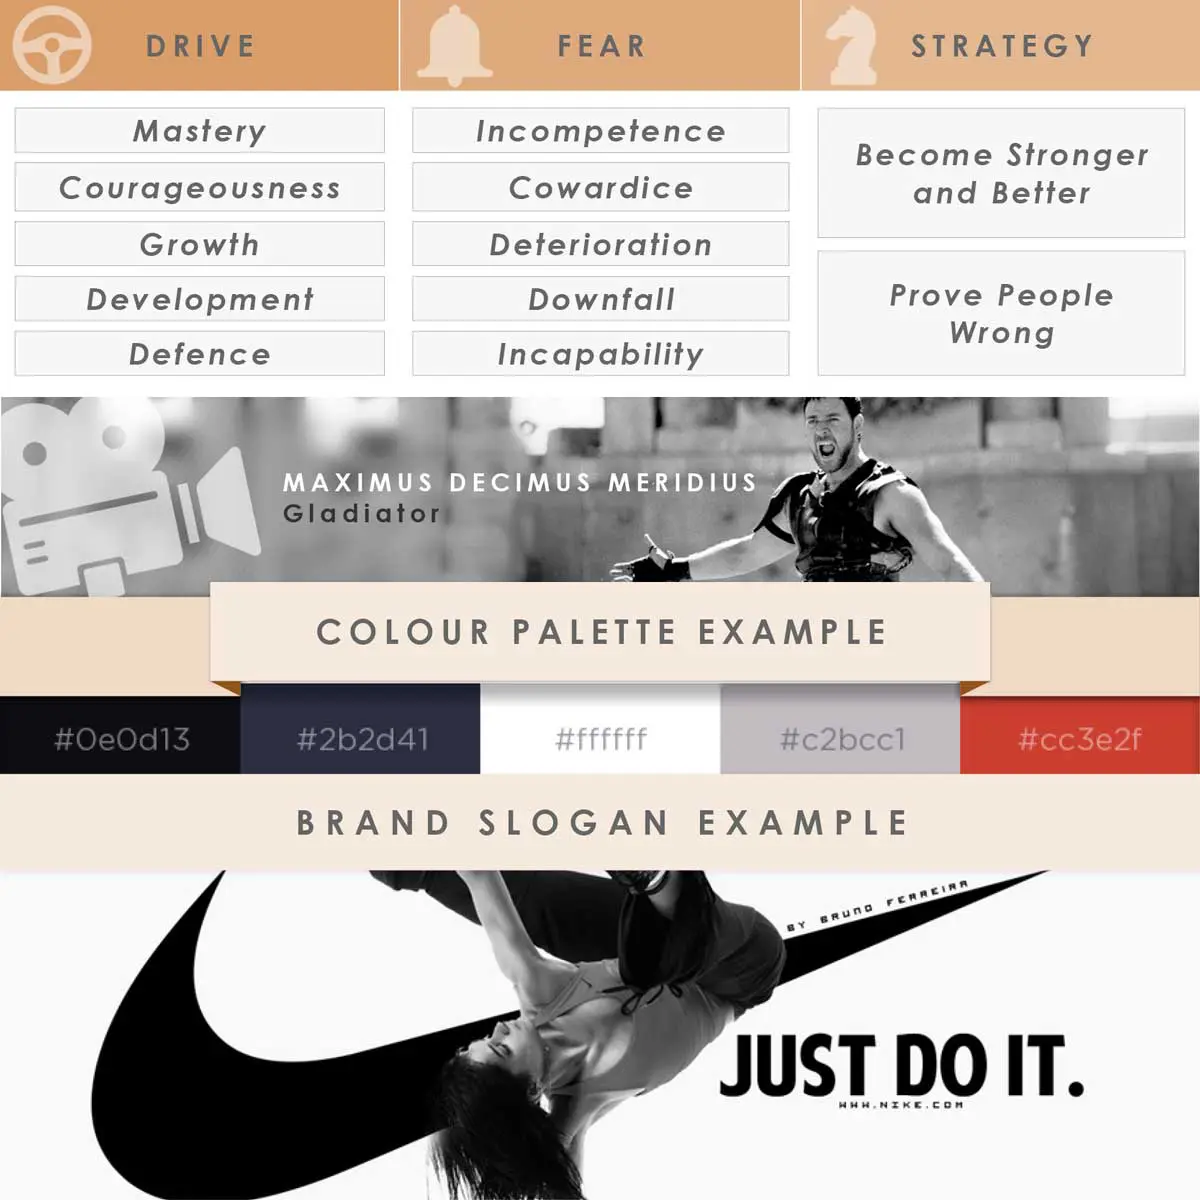
the hero branding strategy
The Hero customer personality stands for what is right and they are empowered by their actions. A Hero wants to be inspired by the possibility to achieve and gratification that comes with it. The Hero brand needs to be ambitious and encourage challenge.
Good examples of The Hero brands you can find in fields of Sportswear and Sports Equipment, Outdoor Equipment, and Emergency Trade Services like Plumbing, Electricity, Mechanic, etc.
4. The Lover Brand Personality (Intimacy)
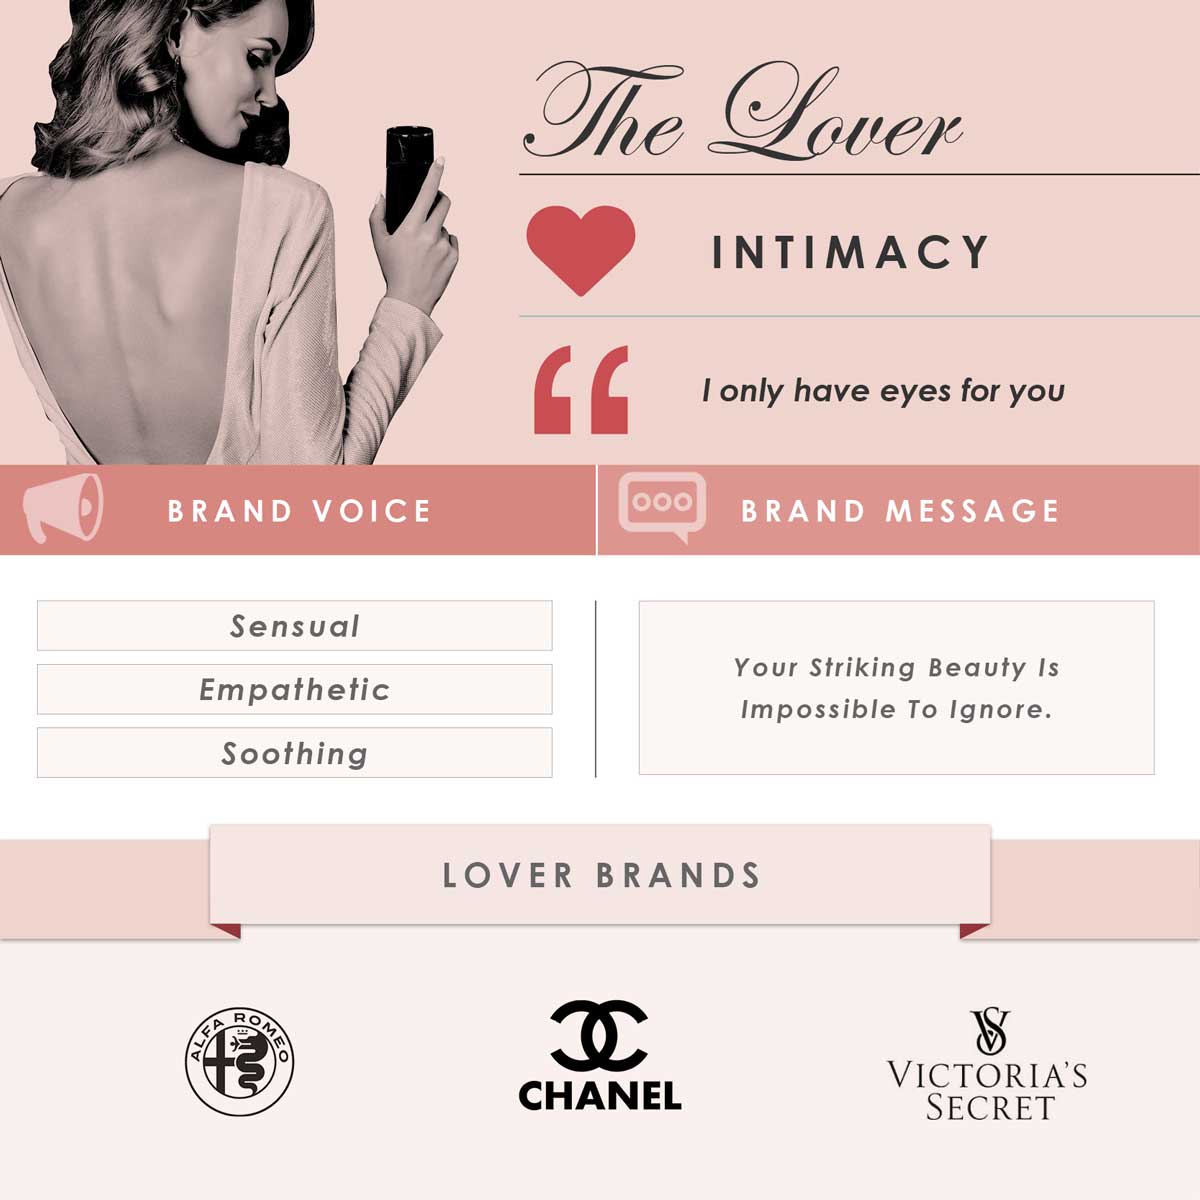
The Lover desires to be desired. They seek intimacy, closeness, and sensual pleasure. They are motivated to become more physically and emotionally appealing to increase their capacity to attract others. The biggest fears are abandonment, being unwanted, or unnoticed. They are insecure if not in the center of attention and fear being rejected.
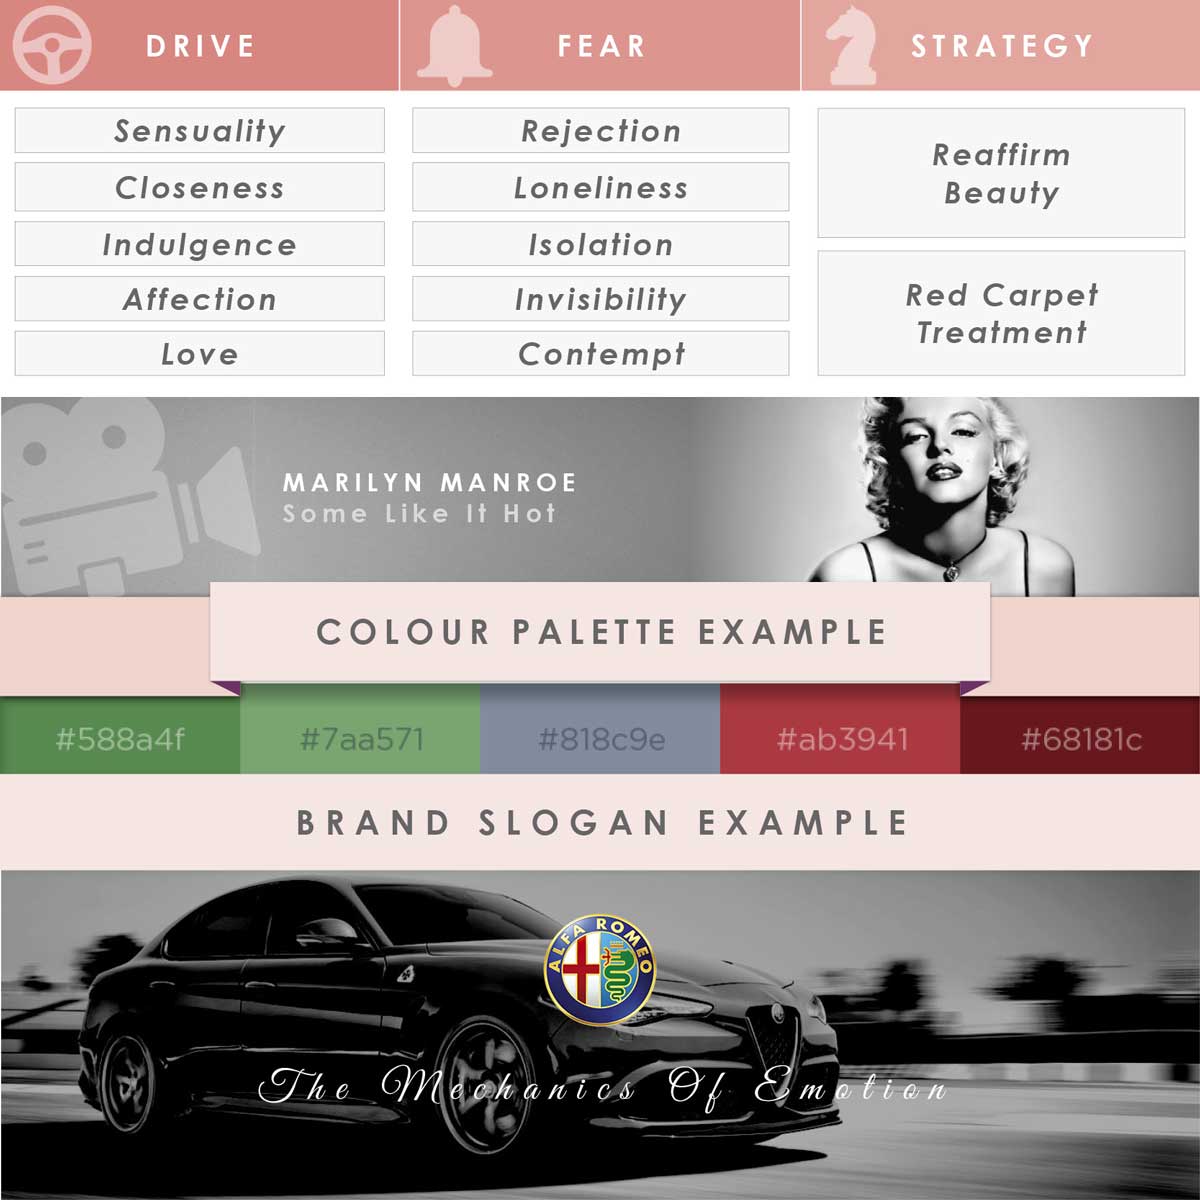
the lovers branding strategy
To appeal to a Lover, you need to make them feel attractive and value intimacy and passion. Communication and visuals should be delicate and should evoke feelings. Use sensual language and tone of voice, as well as the color red that they love the most.
Find The Lover brands in Fragrance, Cosmetics, Wine, Indulgent Food, and Travel Industries.
5. The Jester Brand Personality (Enjoyment)
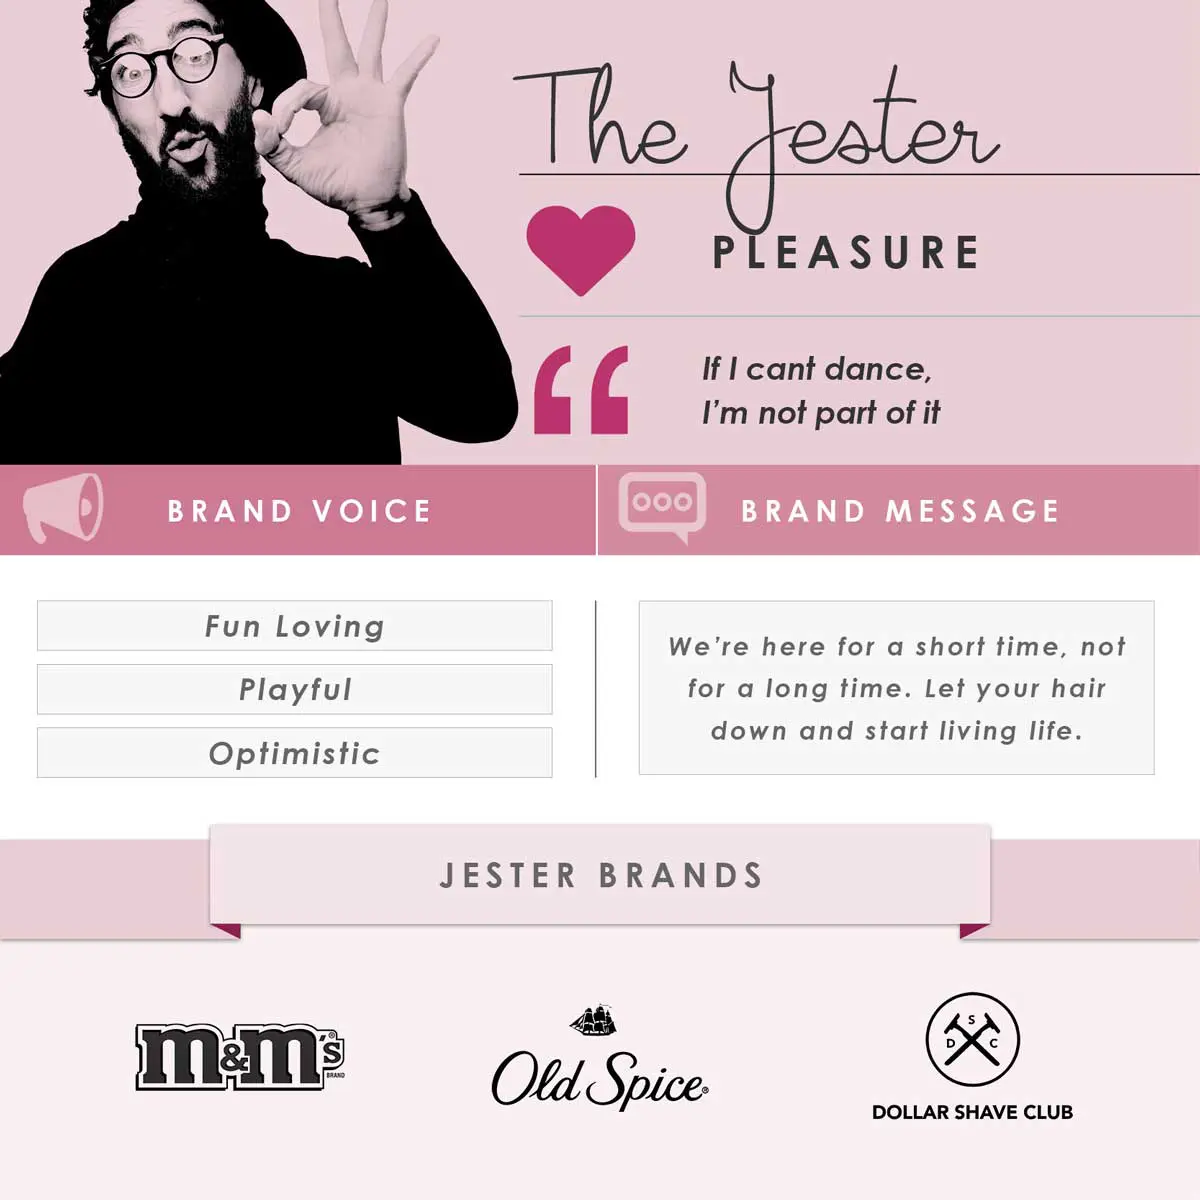
The Jester is all about having fun, being in a moment, and living to the fullest. Their main duty is to make everybody feel positive vibes and share optimism anywhere they go. They can be seen as immature, but that is just part of their quirky, carefree personality.
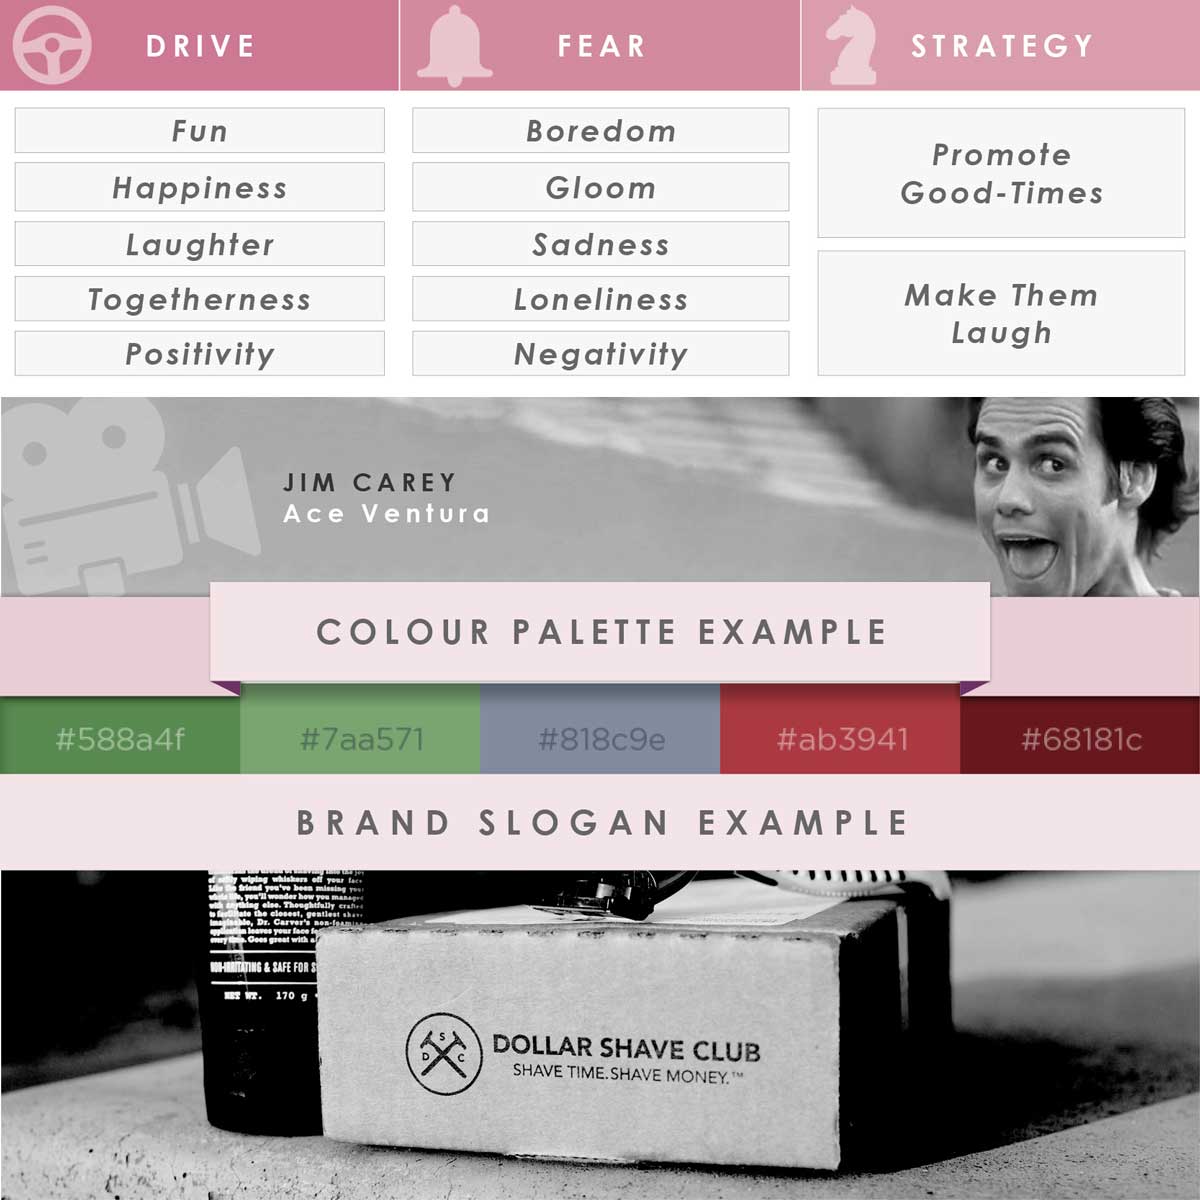
The jester branding strategy
The customers don’t always choose The Jester because of the product, but because of their energy. When given space to shine, The Jester will attract the customers with their unique approach to the business full of entertaining spirit and light-heartedness.
Where you can find The Jester personality? In the Confectionary, Professional Services, Children Services, and Beer Industry.
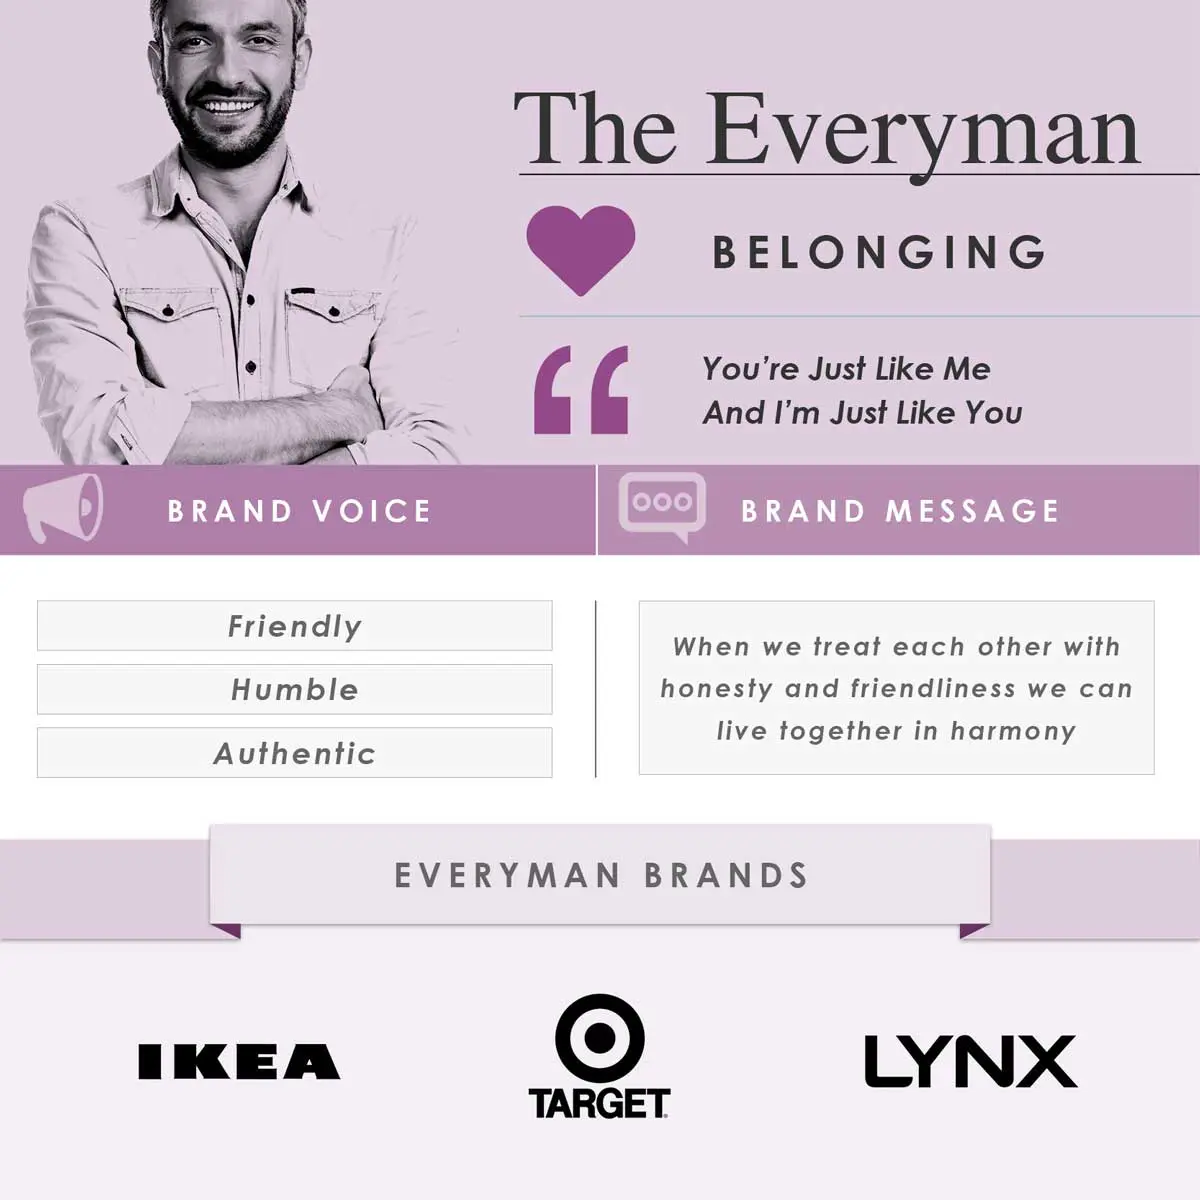
The Everyman above all wants simply to belong. They tend to blend into society as ‘everybody” and don’t like to stand out in the crowd. They’re friendly and easy to talk to without being overly funny or overly rude or overly loud. They tend to be all over the place, showing interest in everything but not sticking with anything long-term. They are positive and most liked in the groups as they don’t stand out with anything. Some people would call them boring, but they are just modest and kind to everyone.
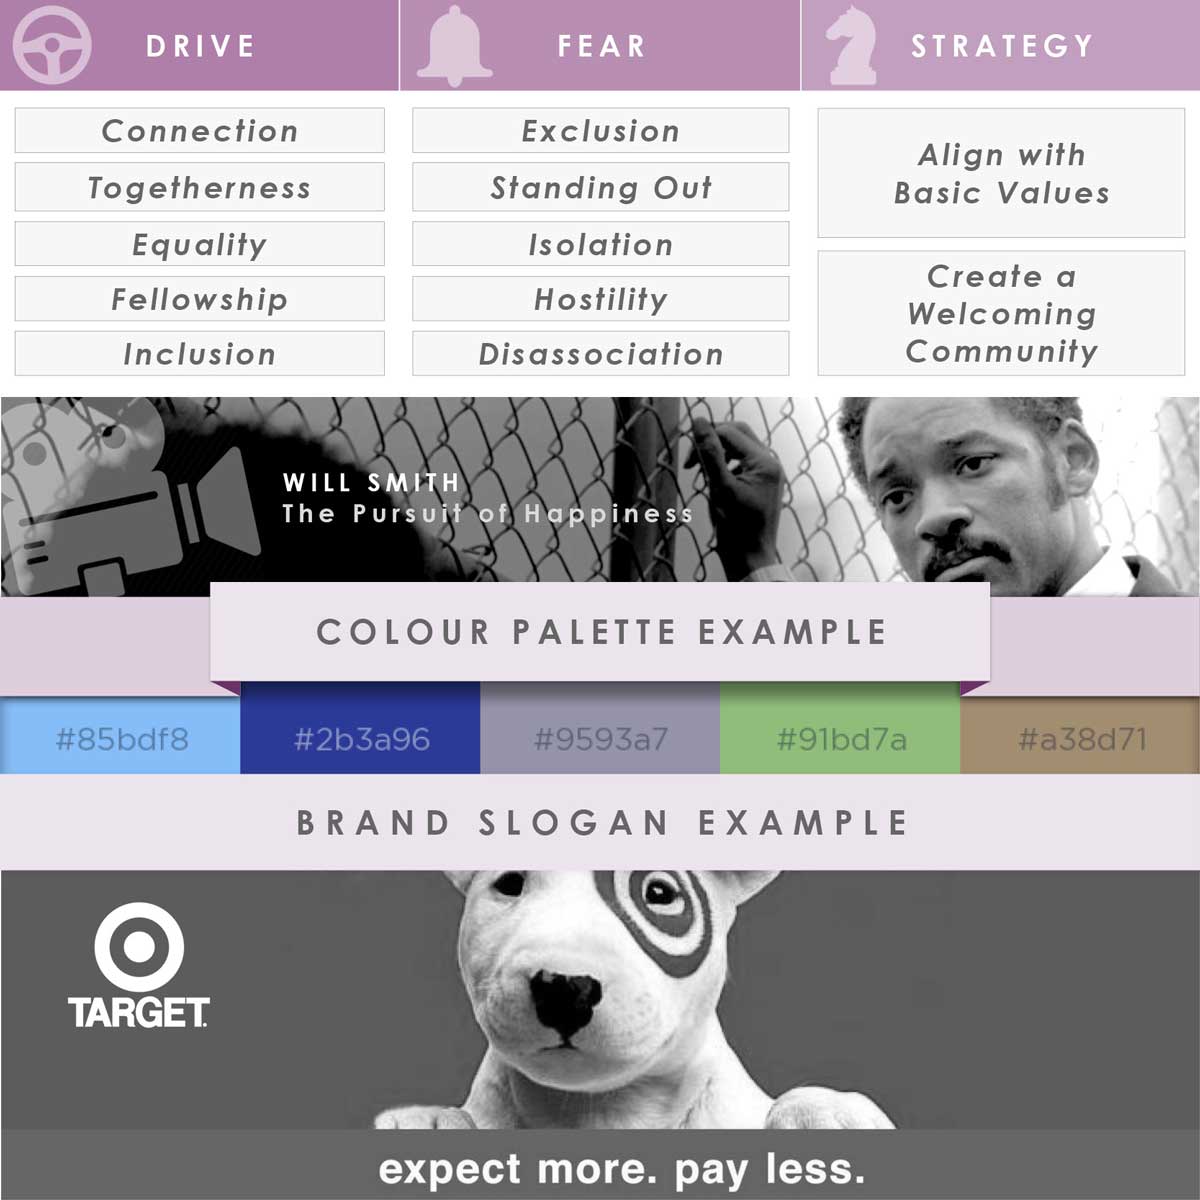
the everyman branding strategy
Home or family life brands fit this archetype perfectly while “we’re better” messaging would be a turn-off. Appealing to an Everyman requires honest, humble, friendly, and down-to-earth communication that doesn’t exclude anyone. Equality and belongingness are more than important.
Some examples of industries with notable Everyman brands are Home/Family, Comfort Foods, and Everyday Apparel.
7. The Caregiver Brand Personality (Service)
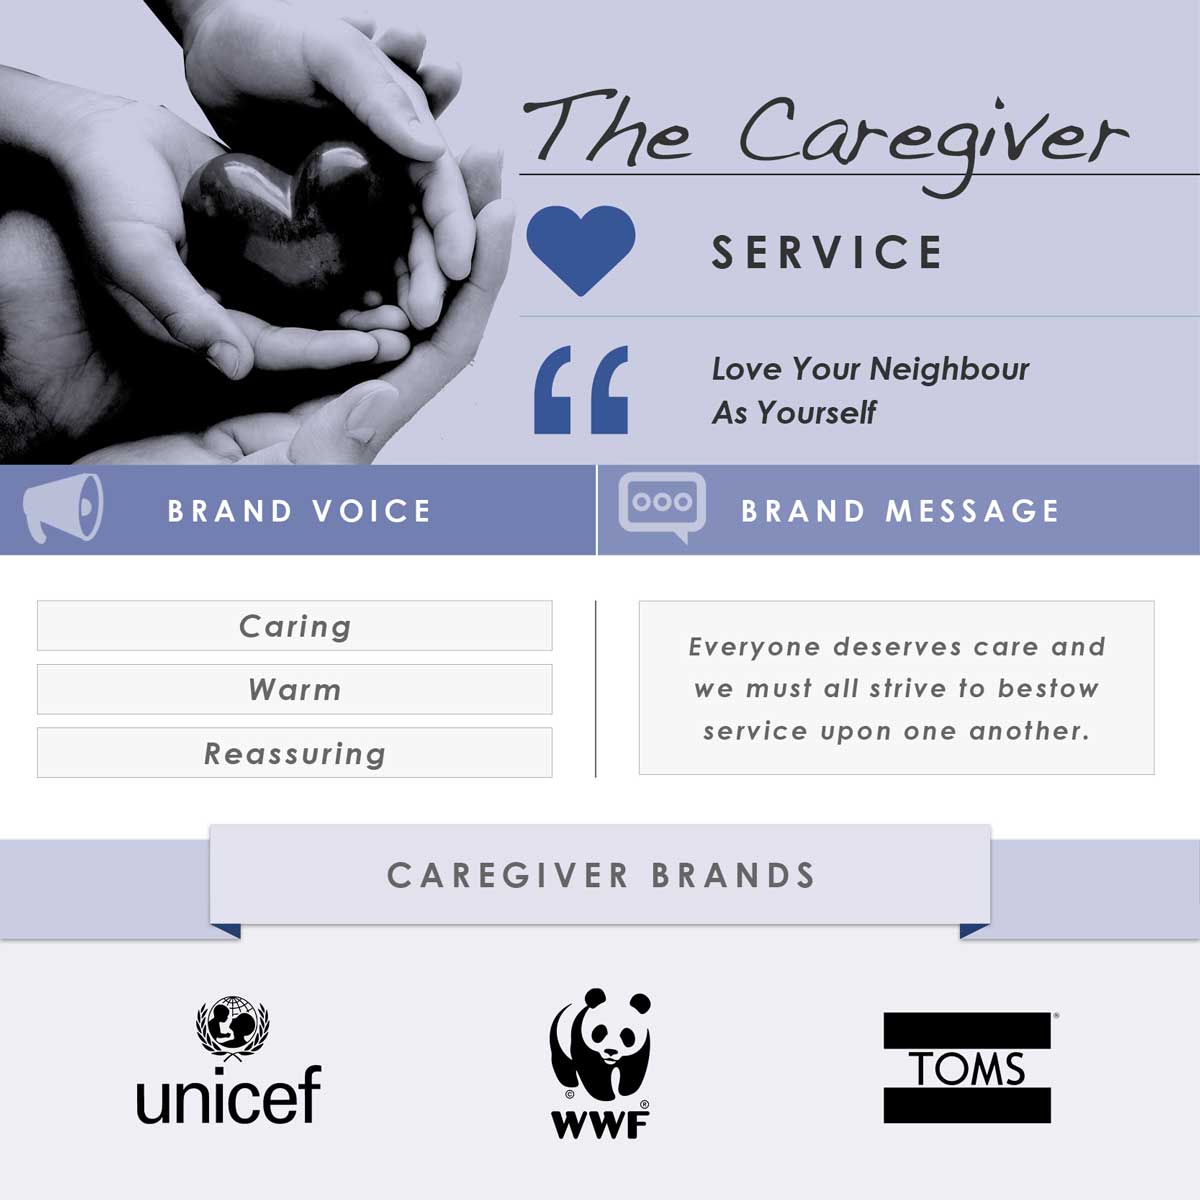
The Caregiver is a selfless personality who is driven by the desire to protect and care for others, especially those in need. They are perceived as a motherly figure and corresponds perfectly to the nursing profession. They are willing to put others first and give up on the benefits if that will help those in need.
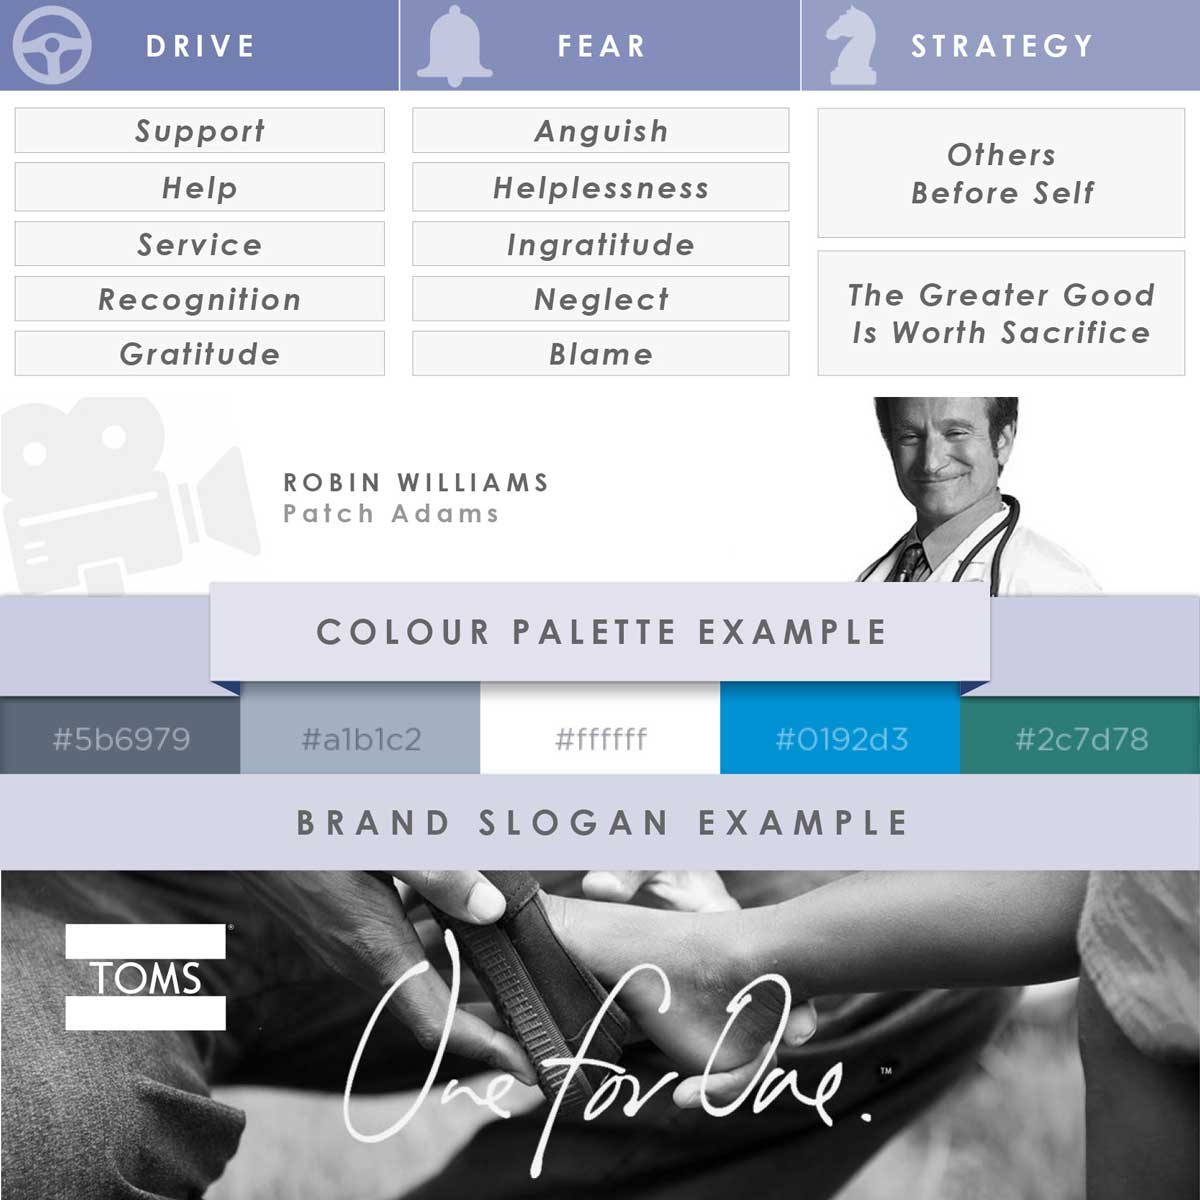
the caregiver branding strategy
A warm, thoughtful, generous, and motherly approach offers a feeling of safety that will appeal to people in need. In such a case, educational and conscience-evoking messages may be the key.
As we already mentioned, you can find this archetype in Health and Aged Care, Non-profit Businesses, Hospitals, and Education.
8. The Ruler Brand Personality (Control)
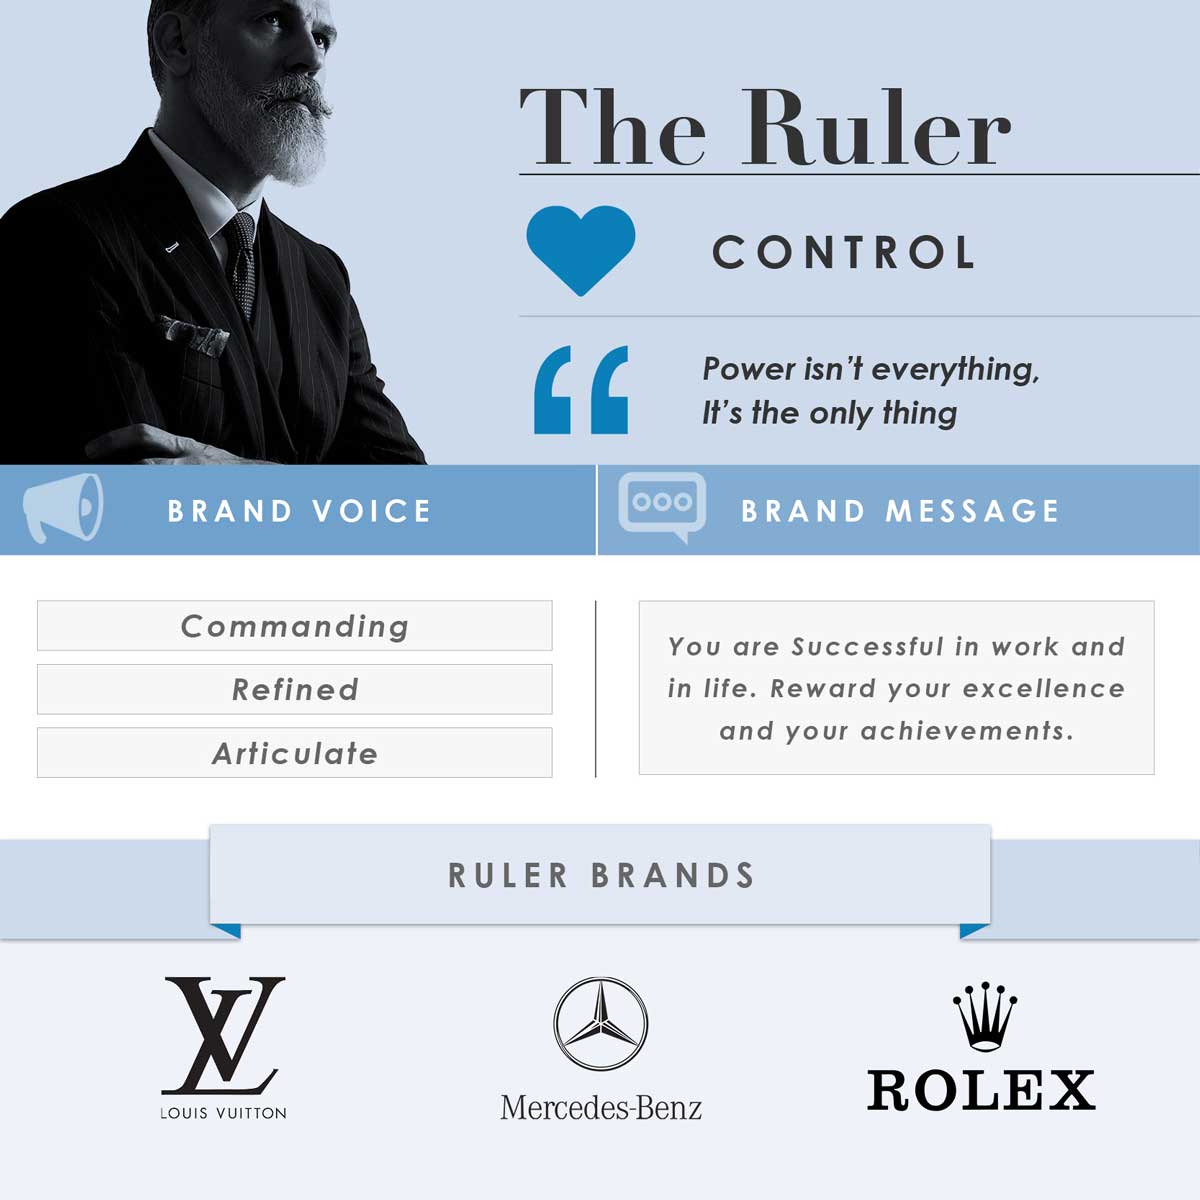
The Ruler personality is a dominant one. They are authoritative in their communication and their actions and carry a sense of intimidation. They are confident in their skills and require discipline and responsibility from others. The Rulers see themselves on the top and are ready to defend that position with all their force.
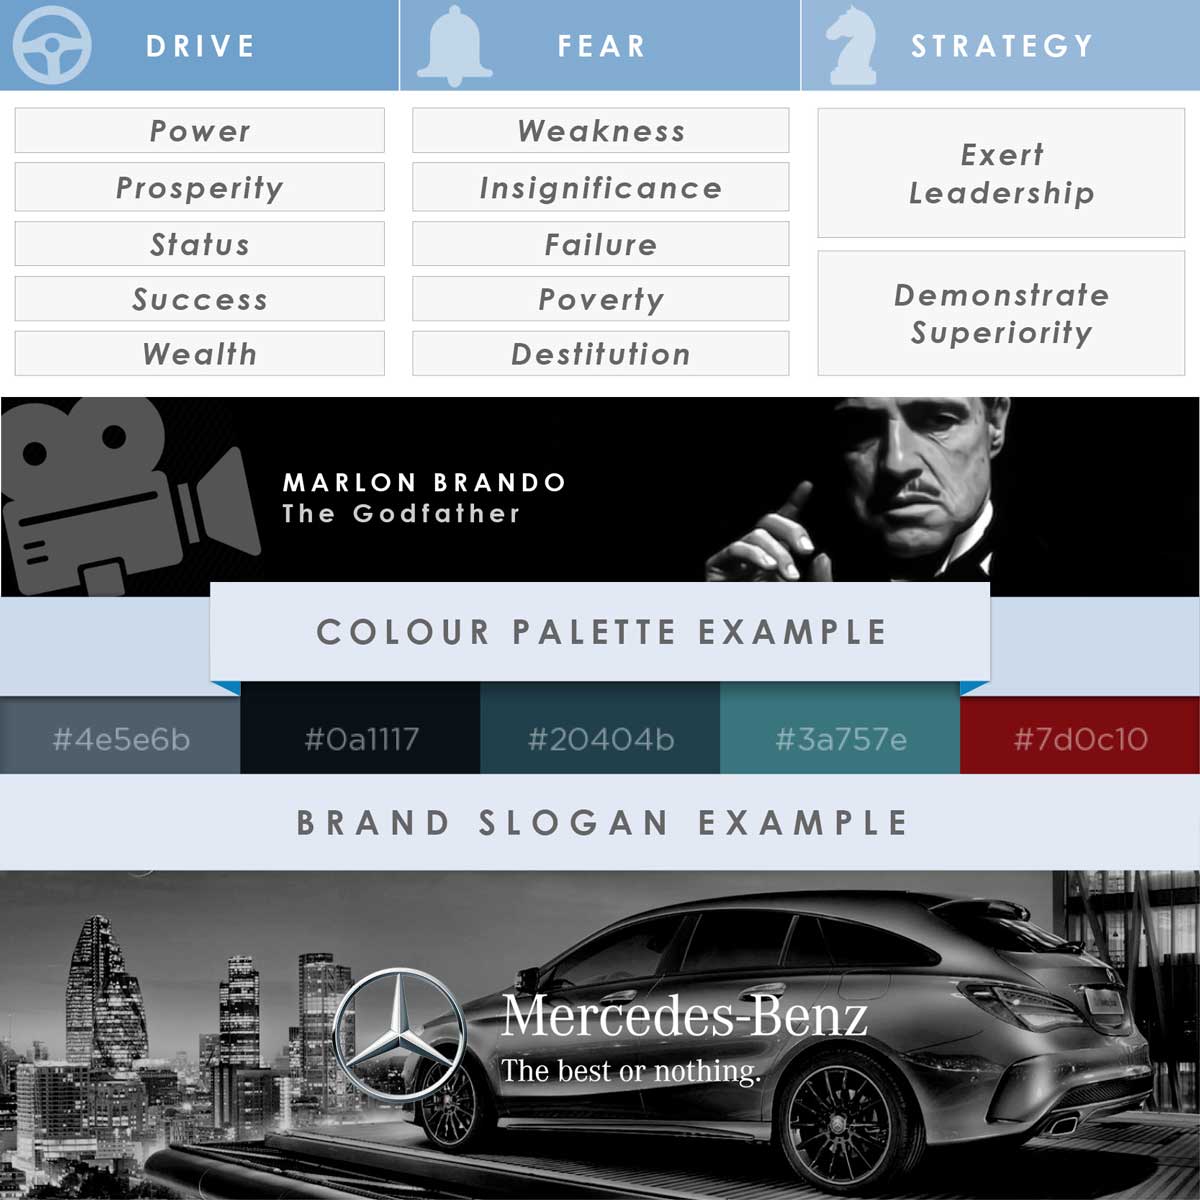
the ruler branding strategy
If you want to appeal to The Ruler personality, you have to take the inferior role. That way, you will boost their ego and self-confidence that carries them through anything. Ruler brands must provide their customers with a sense of affirmation that they are at the top of the ladder of success and are part of an exclusive club.
The industries that focus on luxury branding fit this description. Some examples are Luxurious brands of Automotive, Watch Manufacturers, Hotels, and Formal Clothing.
9. The Creator Brand Personality (Innovation)

The Creator is driven by the desire to create something original through imagination. They are expressive and creative in their work, as well as visionary. Their desire for perfection can sometimes restrain them from moving forward. Also, they are overly critical and hard on themselves.
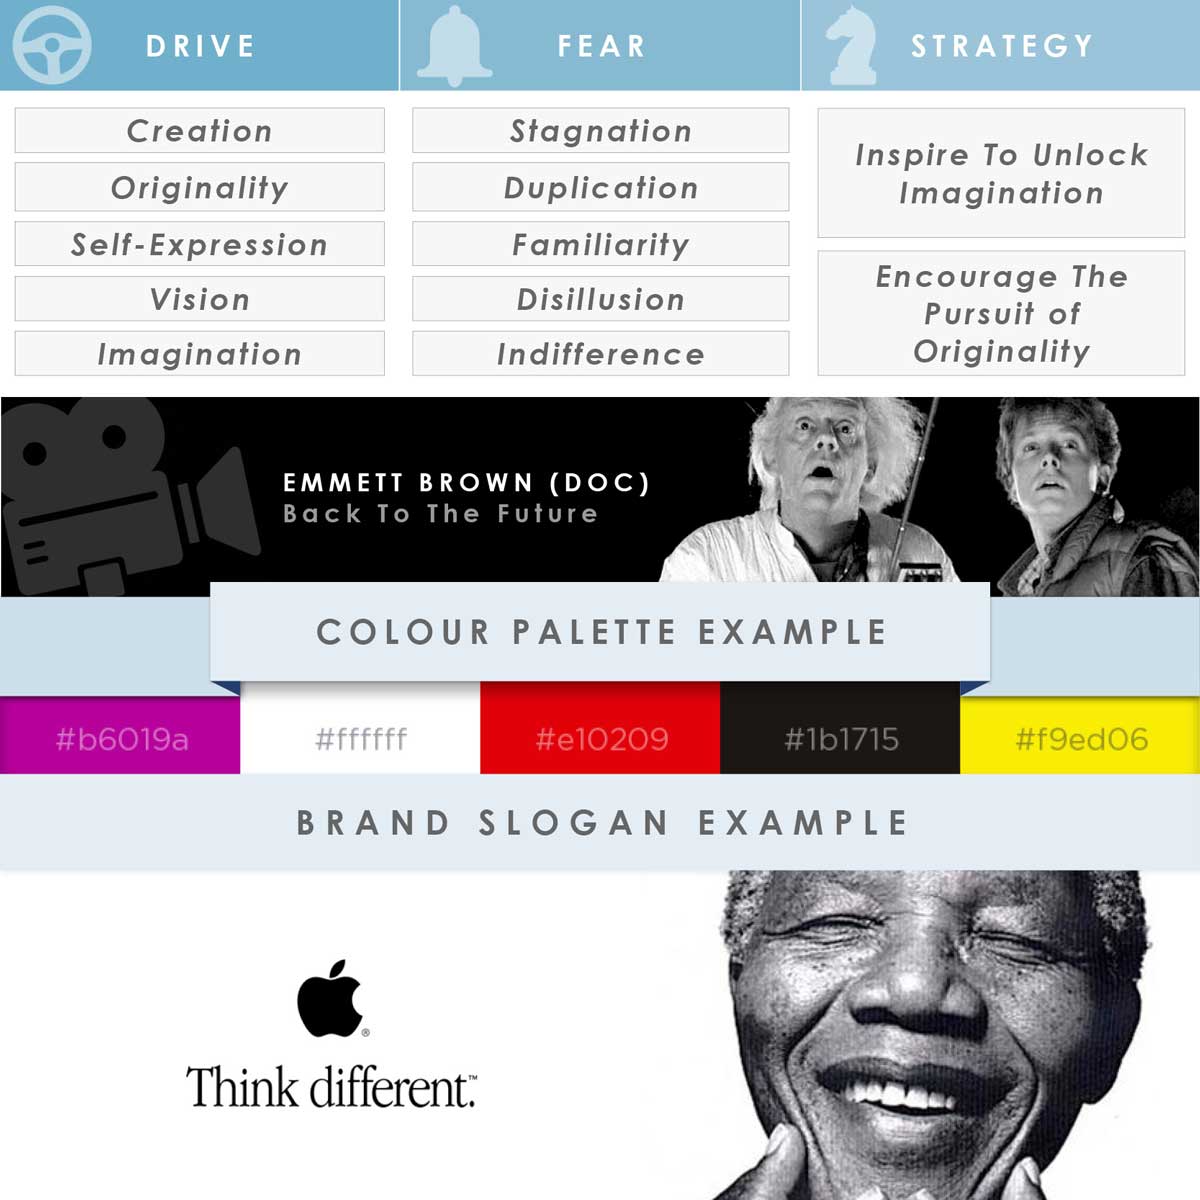
the creator branding strategy
Creator brands leverage their audiences’ imagination and their desire to create and innovate. The communication with them is open and it is inspiring to start the creative process to the best of one’s abilities.
If we look into the fields where The Creator thrives, you can find them in Arts, Design, Marketing, Writing, and Information Technology.
10. The Innocent Brand Personality (Safety)
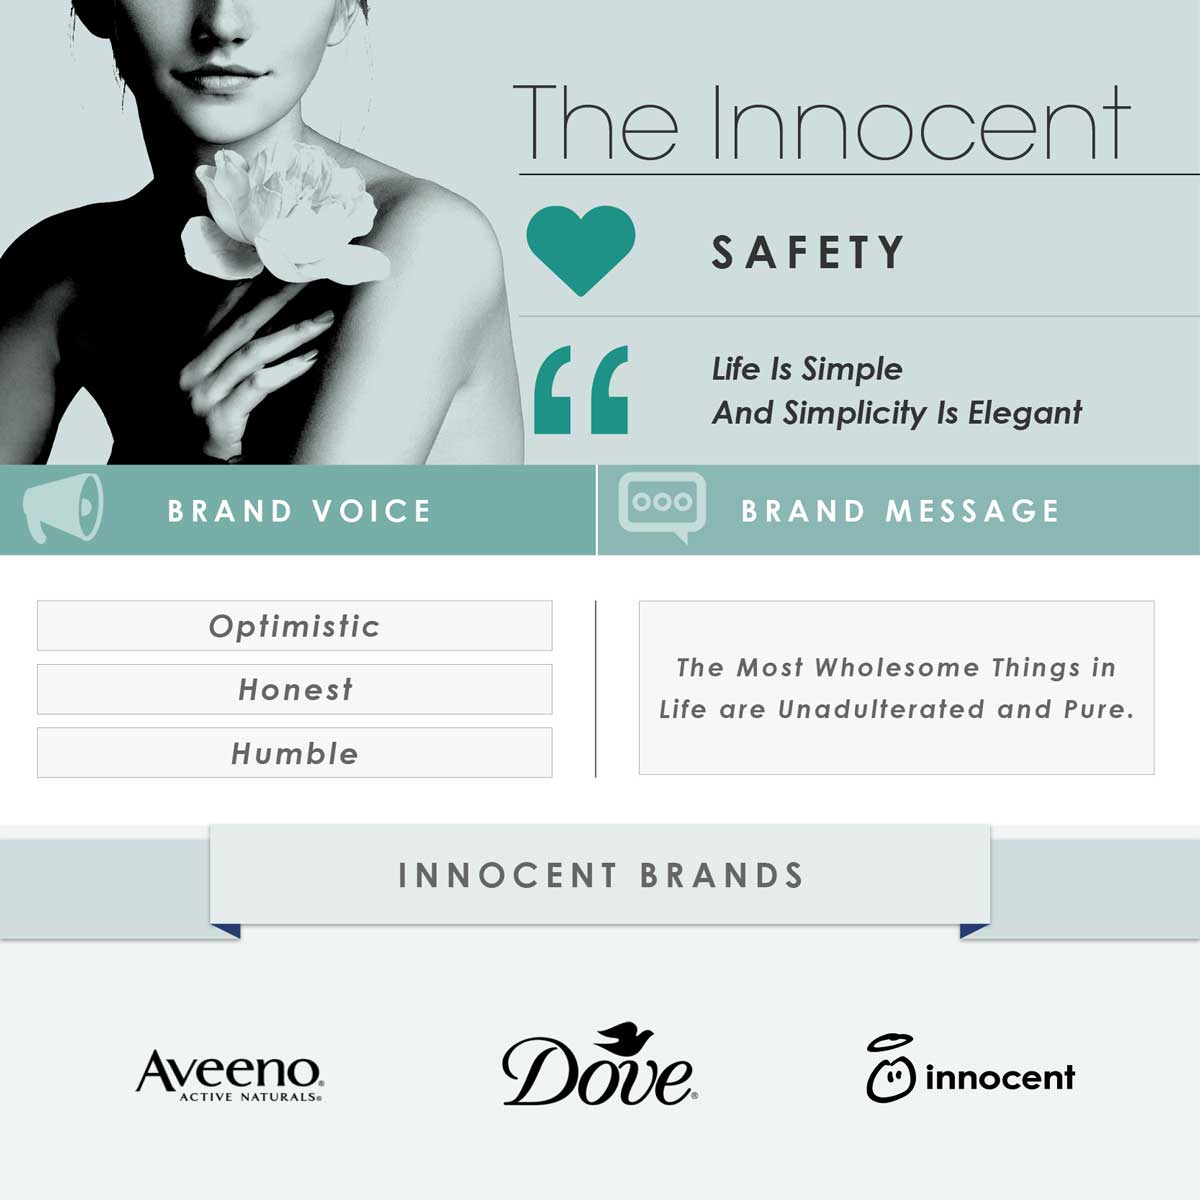
The innocent is a positive personality with an optimistic outlook on life. They crave safety and security for themselves and everyone else. Usually, they are honest, pure, and well-intentioned. They appreciate and respect everyone and accept differences between people.
the innocent branding strategy
To appeal to an innocent, you need to earn their trust with simple, honest, and most importantly, positive communication. They will reach out if they feel comfortable around you and if their inner beauty is recognized.
The industries that support The Innocent archetype are Beauty&Skin Products, Organic, Cleaning, Fresh Food, and any other that is concerning health and well-being.
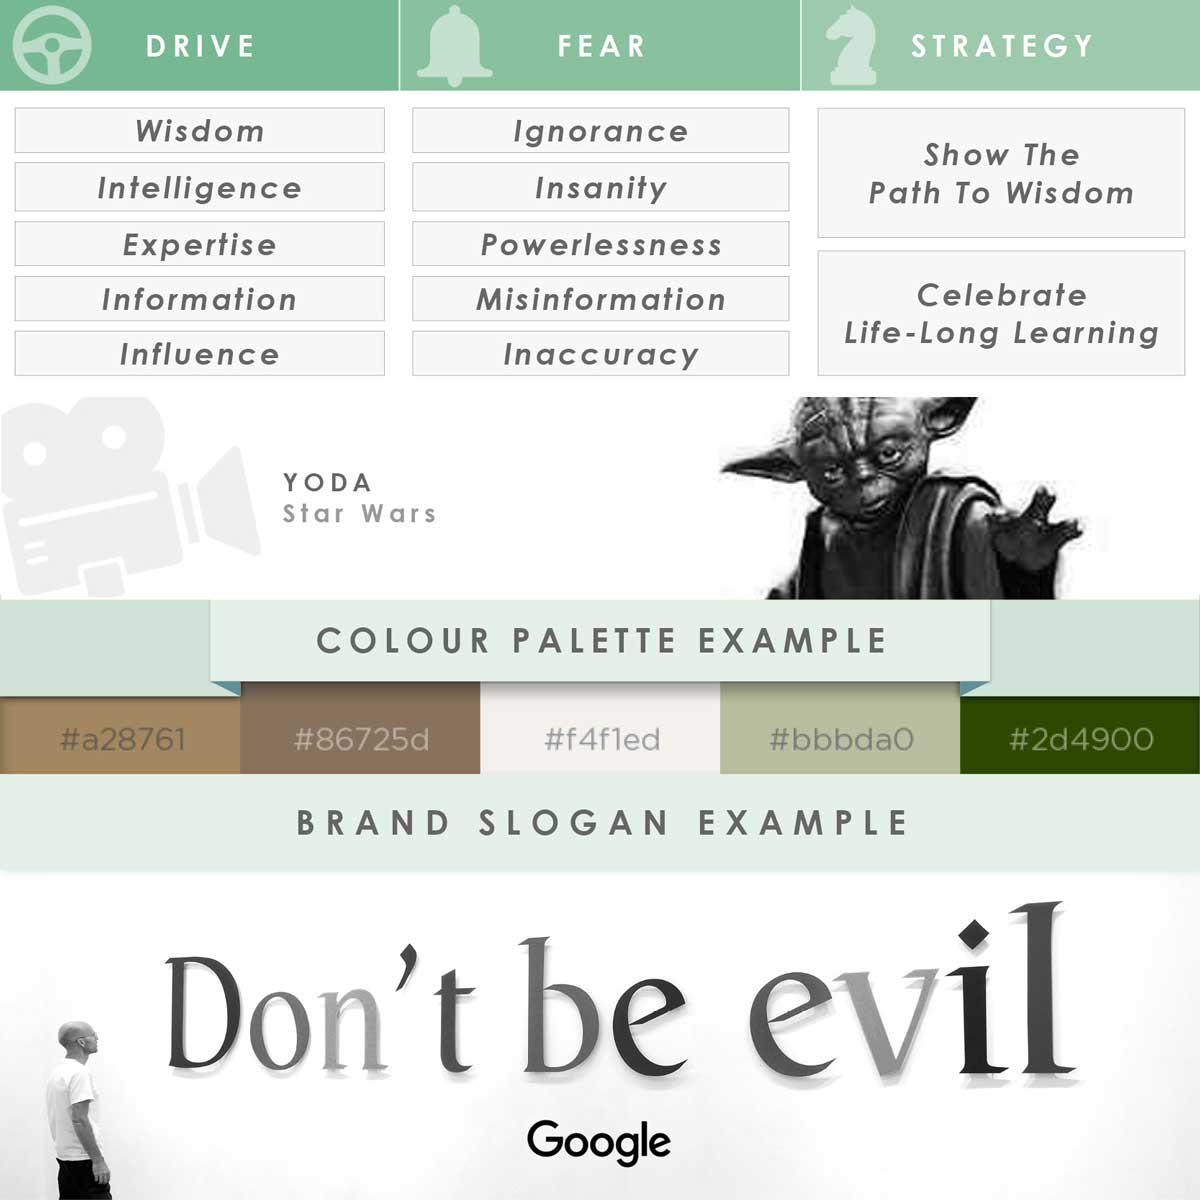
11. The Sage Brand Personality (Understanding)
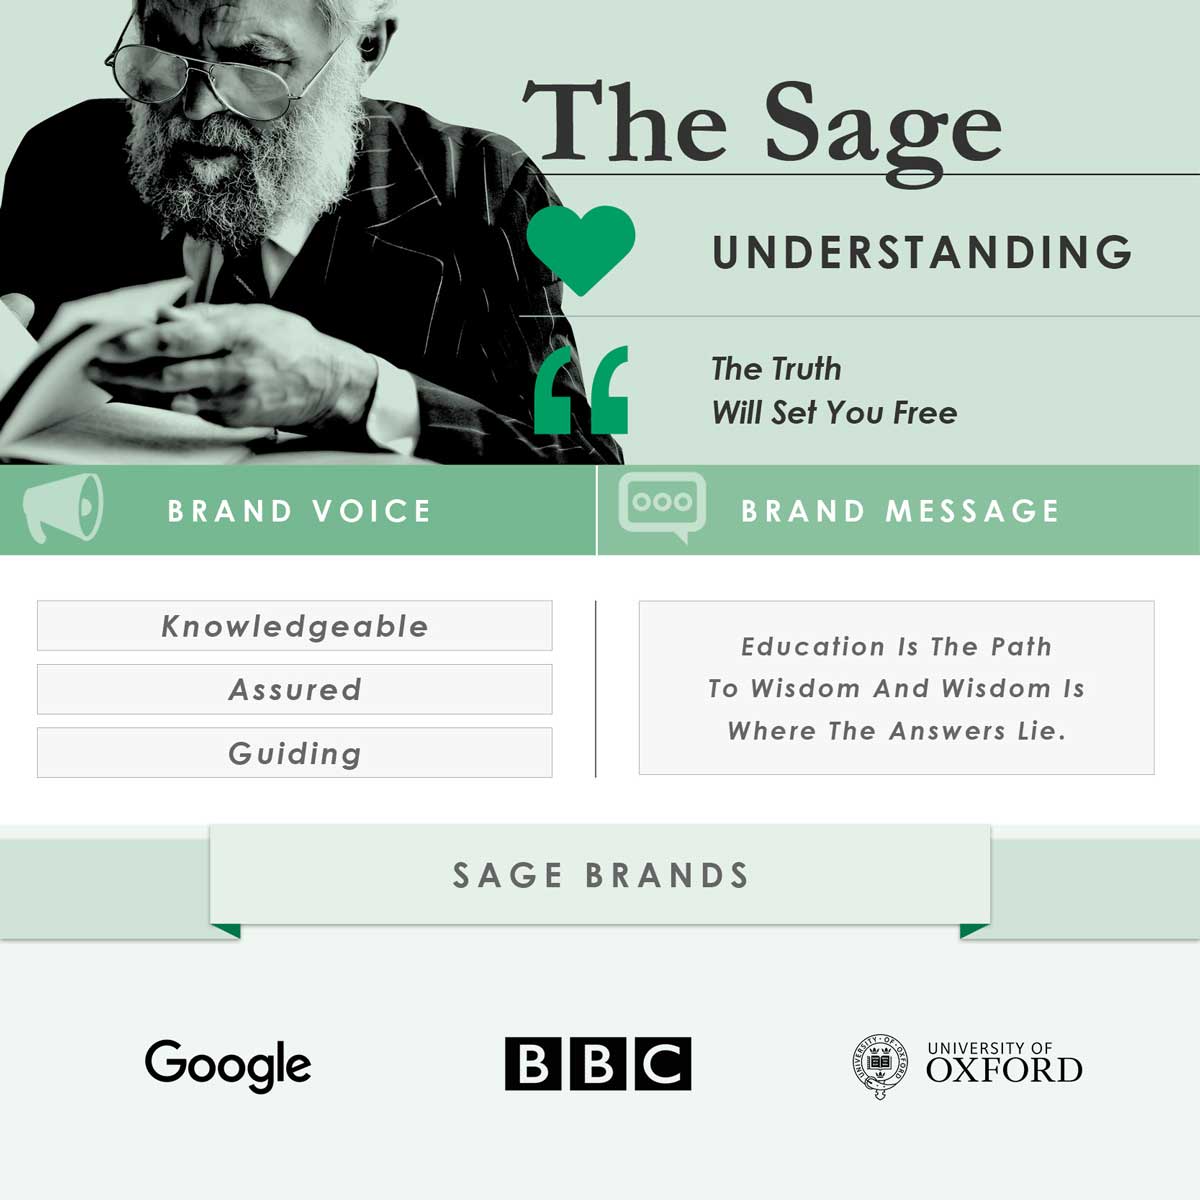
The Sage is a seeker of truth, knowledge, and wisdom. Their inner drive to life-long learning and understanding of the world is pushing them forward. They enjoy self-expression to share their knowledge with others. They will feel more satisfaction if someone they taught makes the change than if they made it themselves. The role they feel most comfortable with is one of a mentor or a tutor.
the sage branding strategy
Communication with The Sage requires a more complex, in-depth, and philosophical approach. They appreciate clear-cut pinpoint facts, so The Jester type of communication will lead you nowhere with The Sage.
The industries for The Sage are Media and News Networks, Education, Consultancies, Search Engines.
12. The Explorer (Freedom)

The Explorer seeks adventure and getting out of the comfort zone as much as possible. They love challenges that serve as self-growth. For them, that represents their journey to discovery.
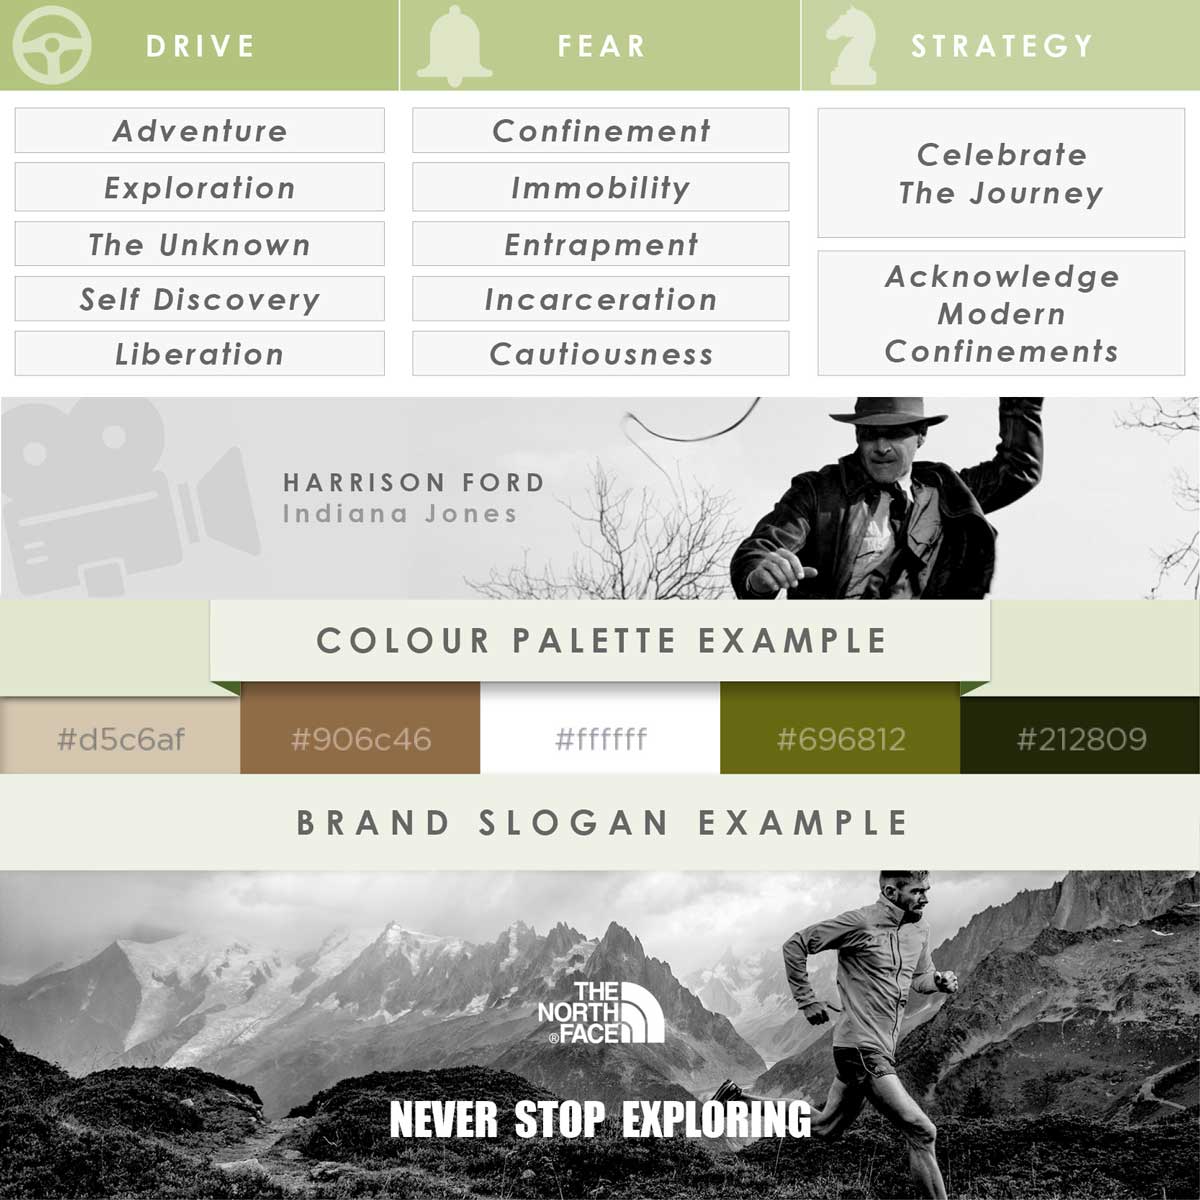
The Explorer Brand Personality
To appeal to The Explorers, you need to challenge them to explore the world, to go beyond what they know and what they have seen. They are often against the conformism of modern society and seek individuality and uniqueness in everything they do.
The top industries with The Explorer brands are Extreme Sports, Outdoor Activities, Adventure Travel.
Archetypes Takeaways
To conclude the brand personality breakdown, we can agree that we are all different, so are our desires. While my core desire might be Understanding, yours might be Innovation, Freedom, or any other.
Famous movie characters are often created as archetypes. Indiana Jones is an Explorer, Yoda from Star Wars corresponds to The Sage, while Gladiator is The Hero. All of them are built on archetypal foundations. Storytellers have that in mind when creating characters. Your brain will recognize archetypes and instinctively connect with them.
Don’t fall into the trap of building a “confused brand”, meaning you don’t want to embrace several archetypes when building a personalized brand. The analysis in The Hero and The Outlaw shows that brands with “tight defined” archetypal identity rose in value by 97% or more over six years than “confused brands”.
Know who you are, who is your audience, and don’t try to please everyone. Some people will not resonate with your brand personality and that is alright. Focus on those that will
How to Communicate Your Brand Personality
Assuming you chose the brand personality archetype you want to use as your foundation, now it is time to communicate that personality with consistency and authenticity. Without authenticity, your brand will not be recognized. Authenticity stems from credibility and transparency. Customers will know that there is nothing shady about your brand. In theory, that should increase the number of loyal customers and your brand image.
How colors affect brands and customers
Once you have your brand anchors, you can make choices about your visuals–your graphics, brand colors, and so on. You want them to be in alignment with the traits you want to become known for.
The psychology of colors studies how color influences our behavior and decision-making. Every color has a meaning and a personality, and that’s why selecting the right logo color can make or break your business. Science says that colors are so powerful that they can even increase our appetite! Make sure that food chains use that as one of their marketing strategies.
Integrate your brand colors across the board – in your brand logo, landing page, products and services, and more. Studies show that 95% of companies use one or two colors in their logo, while only 5 % use more than two colors. Brand logo design is truly important as it communicates the purpose and personality of your brand, both the shape and the color of the brand logo design.

Icon Fox’s detailed color infographic shows why certain brands choose specific colors for their logos. Colors influence consumer emotions and purchasing decisions.
Choose your brand voice
Brand voice is the way you talk to your customers and is defined by your brand’s style of communication. Your brand voice speaks to your target audience and it should reflect the traits of the brand archetype you chose.
Do you know how sometimes it is more important how you say than what you say? That is often the case when brand voice is in question. You have a variety of options for the expression of your brand voice. Whether that is over email, website, press releases, ads, product packaging, social media posts, the idea is the same.
So, how to establish your brand voice? Think of the brand personality and ask yourself, what tone and what words such a person would use? Would they be passionate, quirky, or carefree in their expression? Consider who is your audience as well. What kind of relationship do they have with your brand?
It is also important to be somewhat flexible and adjust your voice as customer priorities change over time as a consequence of the changes within the market.
Here are a few examples of companies that can thank their brand success partly to their unique and consistent brand voice.
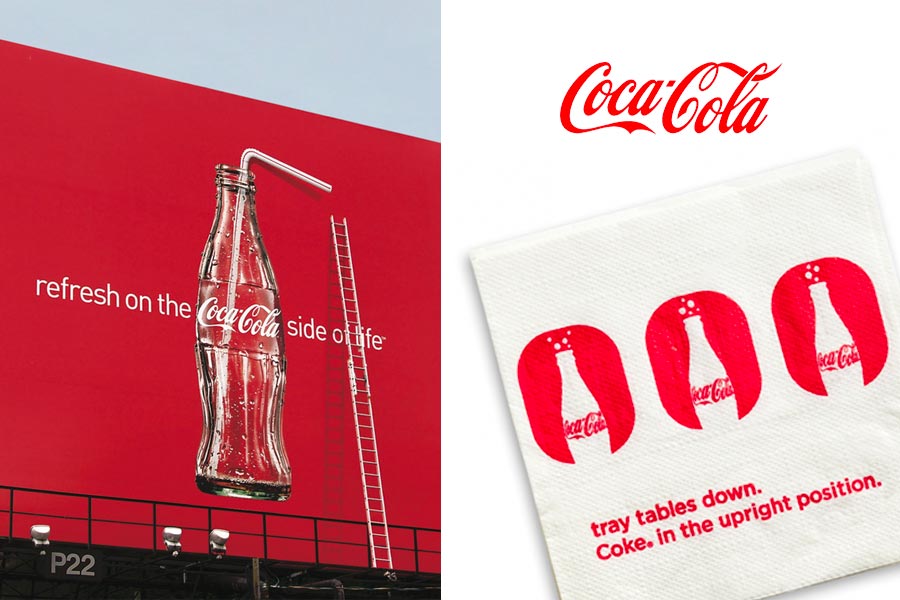
coca-cola
Think about the Coca-Cola ads. Usually, they release new ads during Christmas time, displaying happiness, togetherness, Christmas spirit, laughter, fun, and joy. Even after 130 years of business, they are still thriving and expanding their brand all over the world.
The messages Coca-Cola sends to their customers evoke warm and fuzzy feelings. The branding personality of Coca-Cola corresponds to The Magician brand archetype – making your life better and sharing positivity.
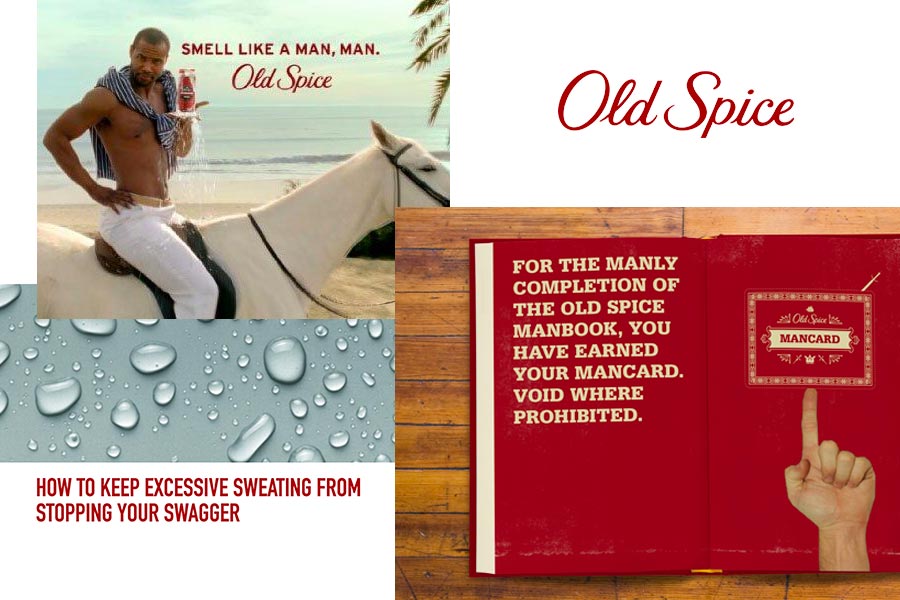
old spice
Old Spice is a perfect example of re-branding. After dominating the men’s deodorant market for years, the Axe brand took some of the market shares from Old Spice. Ultimately, they realized that they need to change something to get back on track.
They changed the brand voice by introducing a humorous approach to redefining masculinity. Consequently, that change of the brand voice got them the success they needed.
The Logo Tells Your Brand’s Story
The brand is probably the first thing customer sees when they first encounter your product. Having a quality logo is a must. Here are only a few reasons why you should think carefully about your brand logo.
- It grabs attention: Customers’ attention span is small so you must make your brand memorable and interesting enough to grab their attention.
- It leaves a strong impression: If your logo is poor, the first impression of your whole brand will not be the best and many customers will decide not to engage with your products. You have to lure them in to explore your brand further and smart choice of logo will help.
- Represents the foundation of branding identity: What colors and fonts you used reflects the identity of your brand’s personality and from there you’re building the momentum for your brand. If there is a disconnection between the visual identity, brand voice, and your branding and marketing strategies, your brand is hardly going to succeed.
- It separates you from your competition: Don’t use the most common motif for your brand. Not only it is probably overused by now, but also it is not creative or memorable. Think outside the box and prove that you are different, and a better choice than your competitors.
- It fosters brand loyalty: Once you see your go-to brand’s logo, you know you are in safe hands. If you are happy with the products, you won’t ever question their quality. Trust is built over time, and logo is just a reminder of the brand that is always there for your. Those are little secrets of building a brand loyalty.